Showing posts with label pictures. Show all posts

Friday, December 2, 2011

Day One, Part One

Look at me! I took a shower, I am wearing real pants (not pajamas), and I am in a coffeeshop, AKA the Real World. I'm not bawling like a baby in a dark corner somewhere! Also, I am eating the fattiest scone ever conceived by the mind of man and drinking a Monkeytail, which is a 4-shot Mexican mocha.

Look!

SO EFFING GOOD
This is the place I used to go all the time when I was alone in Boise with Charlie, back when he was a tiny little infant. Six months of solitude, that was. Hard.

Anyway. Coming back to Boise is strange. Like I said, I thought that the time I was here without Dust was more like two months until we talked about it a few weeks ago. It was a hazy time. Coming back did give me that familiar feeling of "Me Against the World," though. Which... well, I mean I guess it's better than "Everyone Against Me." Or "Overwhelmed and Unable to Cope."

SIGH THIS IS GETTING ME NOWHERE.

Anyway, I am going to finish this shit, or at least try to eat some of it, and then go walk around stores for a little bit, until I can be alone with my thoughts again.

Monday, November 14, 2011

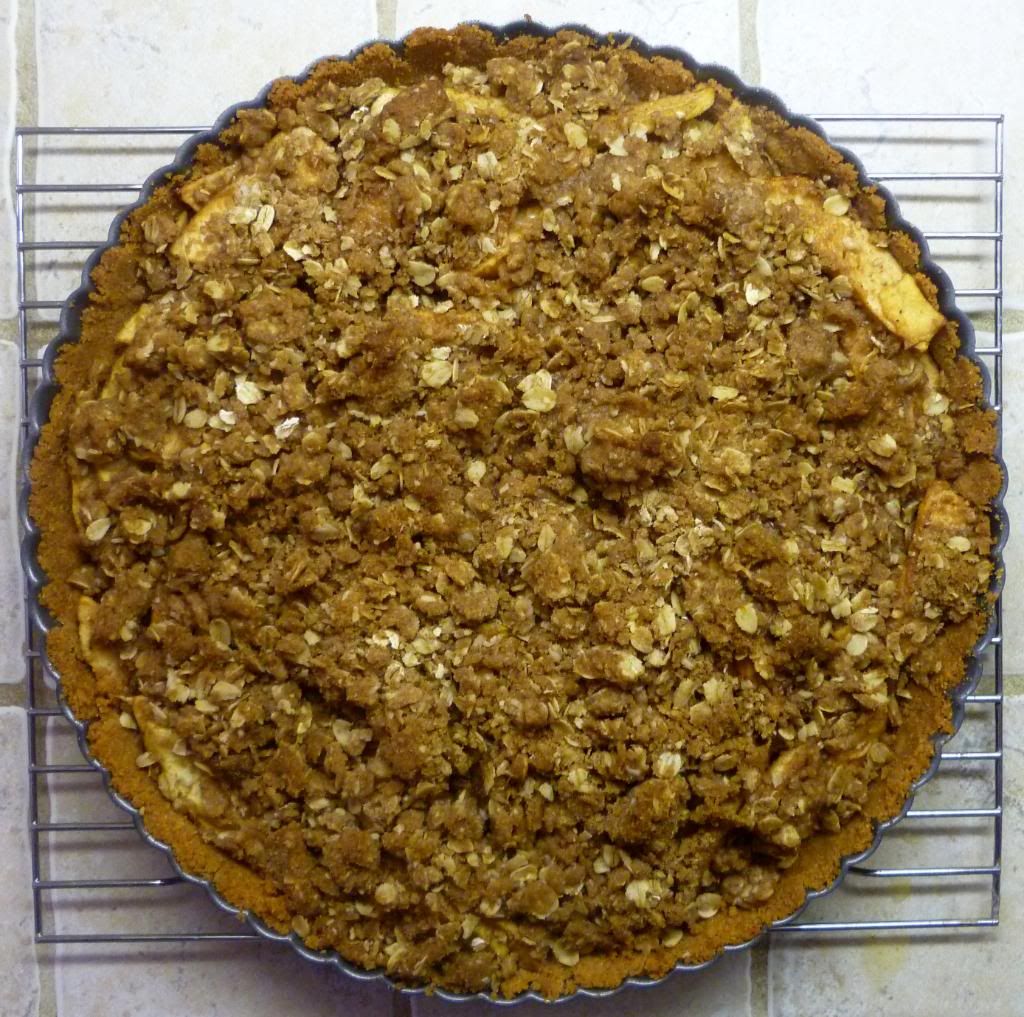
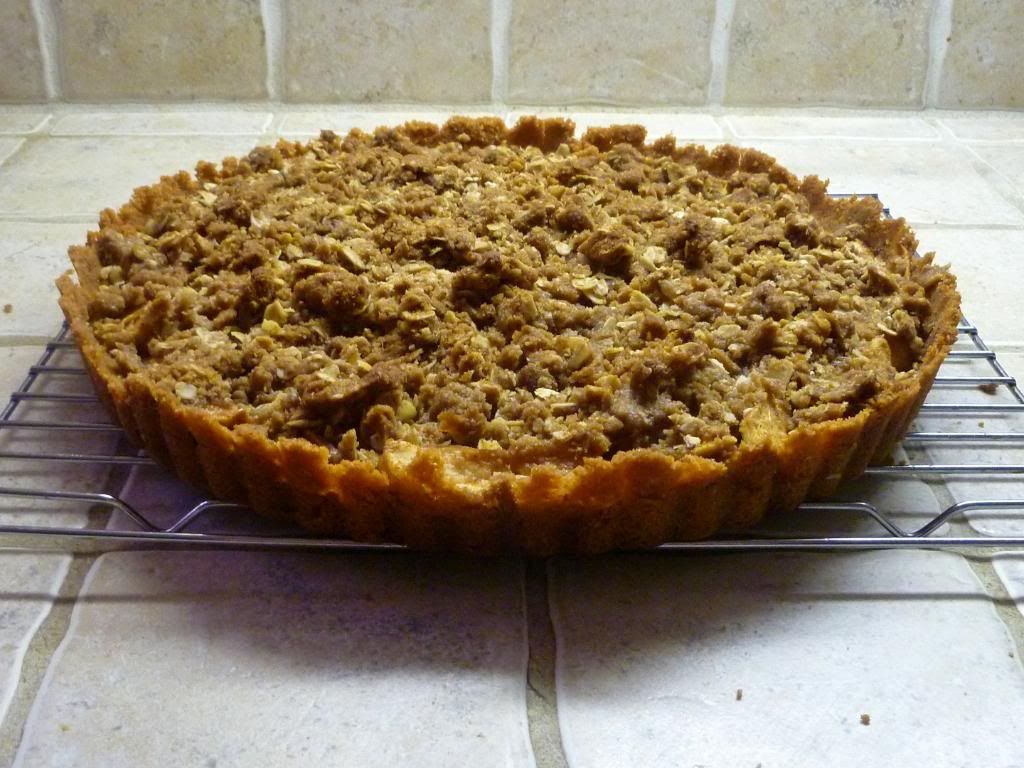
Shitshow Kitchen: Apple Crisp Tart

So today's Shitshow Kitchen is even shittier than usual, in that I wrote down the recipe as I made it and then lost the half-torn envelope I used to make my notes. So the ingredients are done ENTIRELY FROM MY FLAWED AND GOLDFISH-LIKE MEMORY.
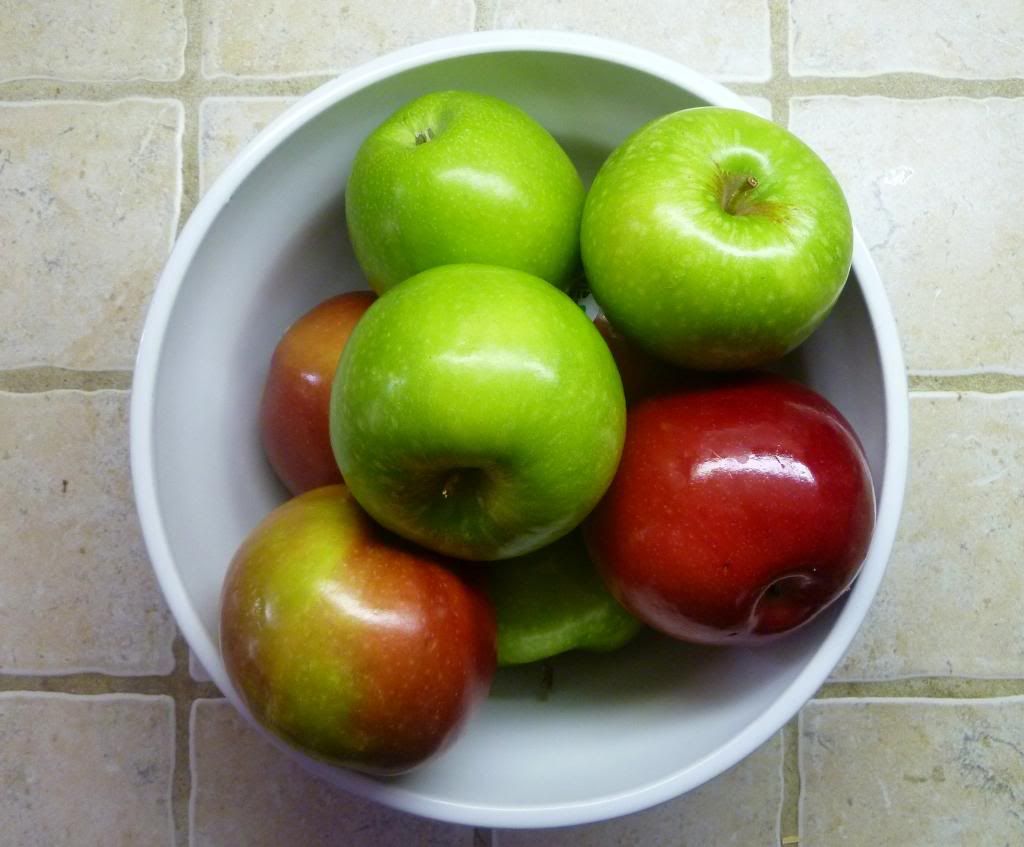
APPLES! The fruit that says "Winter is coming, bitches."
Anyway, this was pretty awesome. You can skip the crust part entirely, or you can make the crust and scatter it on top with the crisp part, or you can just do the recipe like I did, and good luck to you. No, seriously, this is super easy. And very autumnal. That kind of makes it sound regal somehow. I LIKE IT! AUTUMNAL APPLE CRISP TART!!

Ingredients:
Crust:
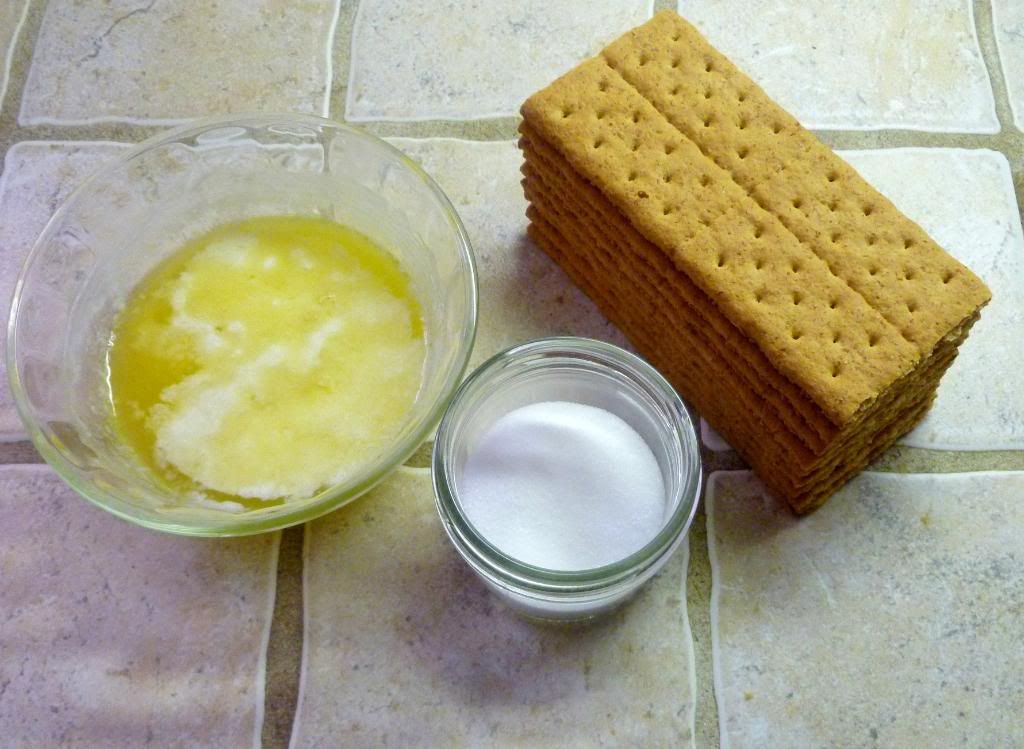
one package graham crackers + three more crackers
4 T melted butter
2 T sugar

Apples:
6 apples
1/2 C brown sugar
1 T cinnamon

Crisp:
1/2 C oatmeal
1/2 C flour
1/2 C brown sugar
1 t nutmeg
1/2 t cloves
1 t cinnamon
4 T butter

That's about 4 T of melted butter, right? It might be more. I think 4 T is probably right.
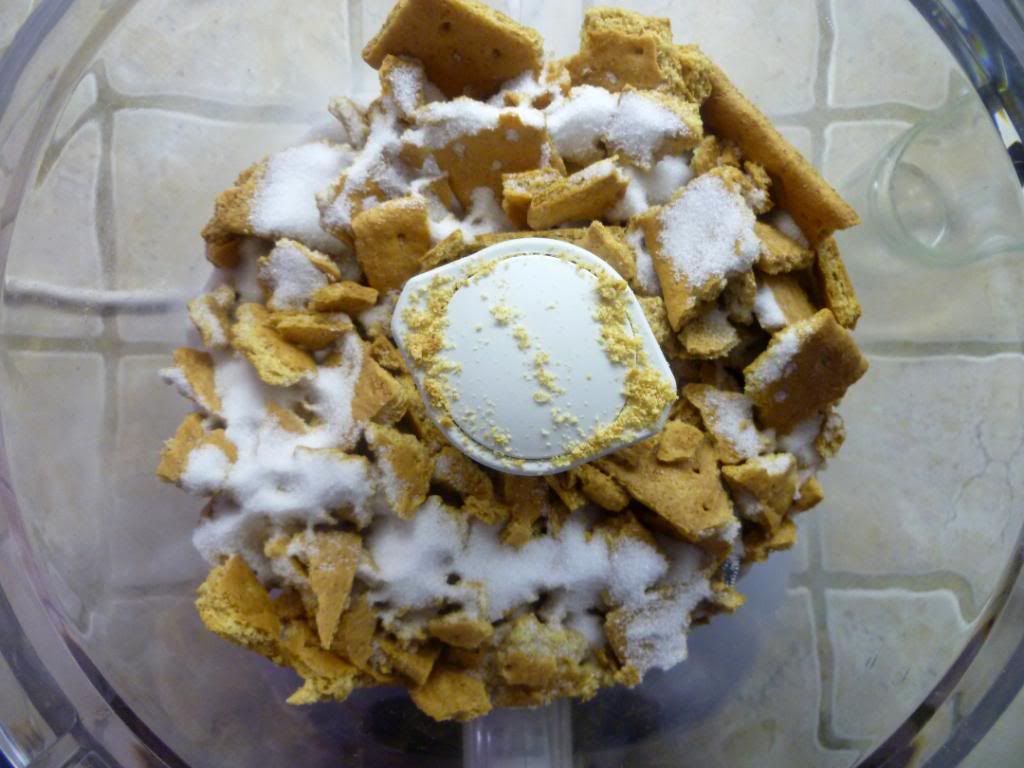
Throw the graham crackers and sugar into your food processor.
Where is my point of focus? This photo looks weird.
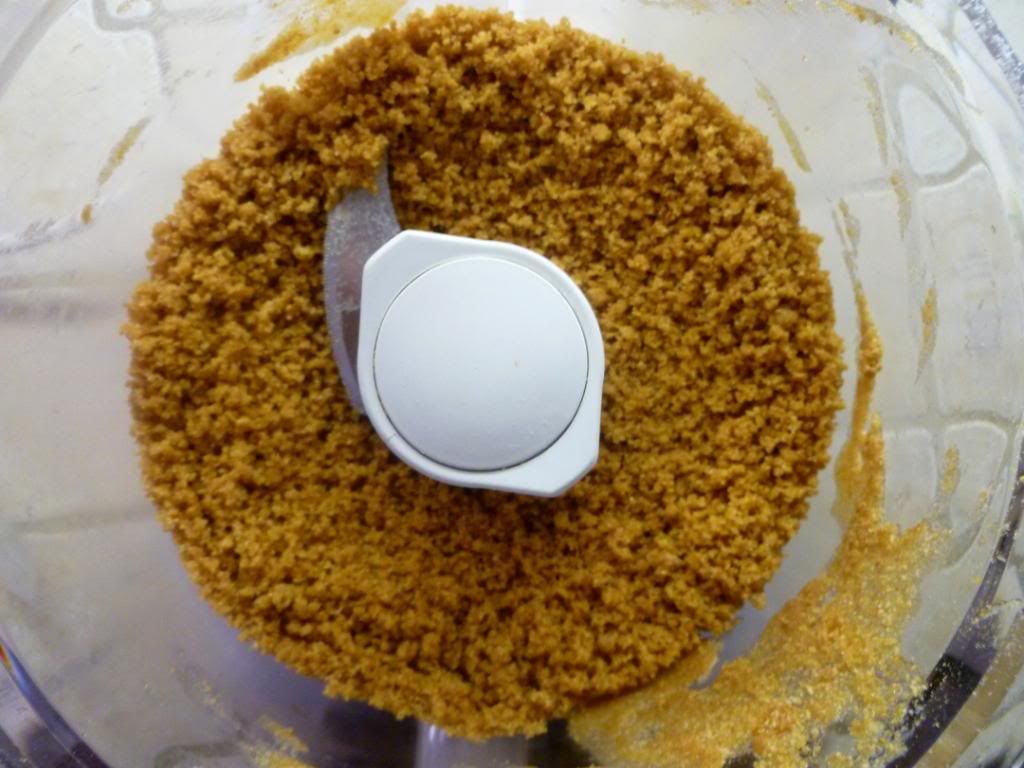
Whirl it up until it is fine sand, then add the butter and whirl it again.
Mmmm. Refrain from eating all the crumbs! REFRAIN!!
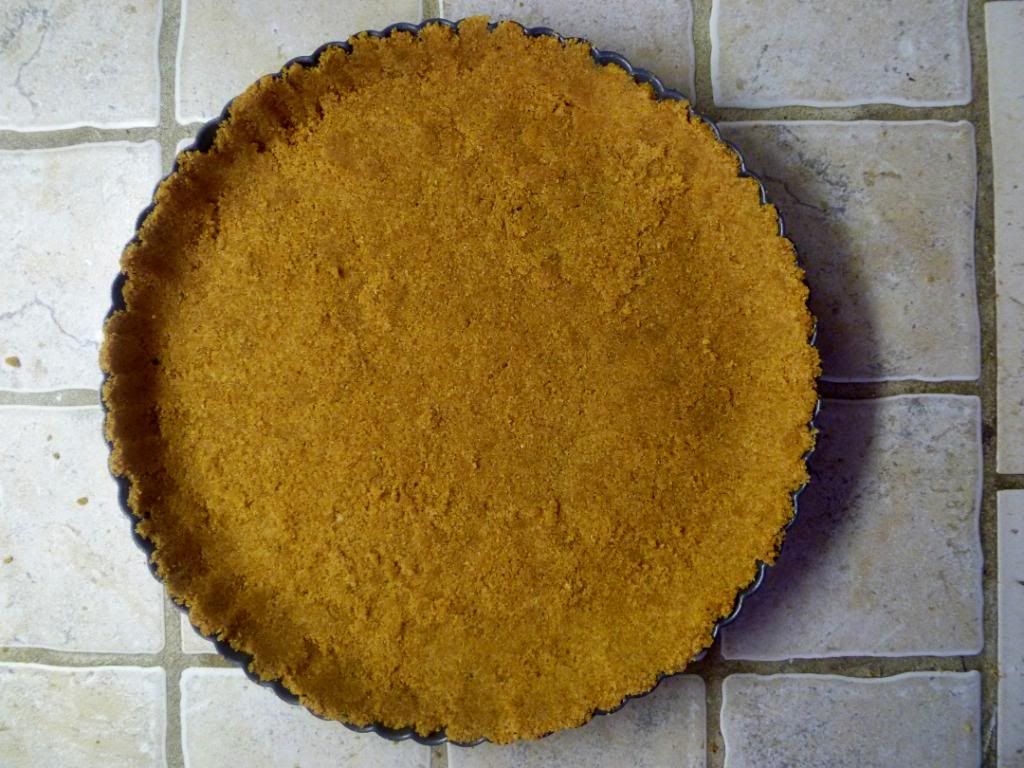
Pat the crumbs into a tart pan with a removable bottom. I start around the edges, then do the bottom, otherwise you end up with nothing left for the sides. I ended up with not really enough, so I revised the ingredients for you to include another few crackers.
Attractive Crust Achievement Unlocked
Put the crust in the fridge (remember the bottom on your pan is removable, so you can't set it ON anything but a completely flat surface, or the bottom will pop out and you will end up with crumbs ALL OVER your fridge, including in ALL of the crevices, and no this totally did not happen to me...). Let it chill while you prepare the rest of the recipe.
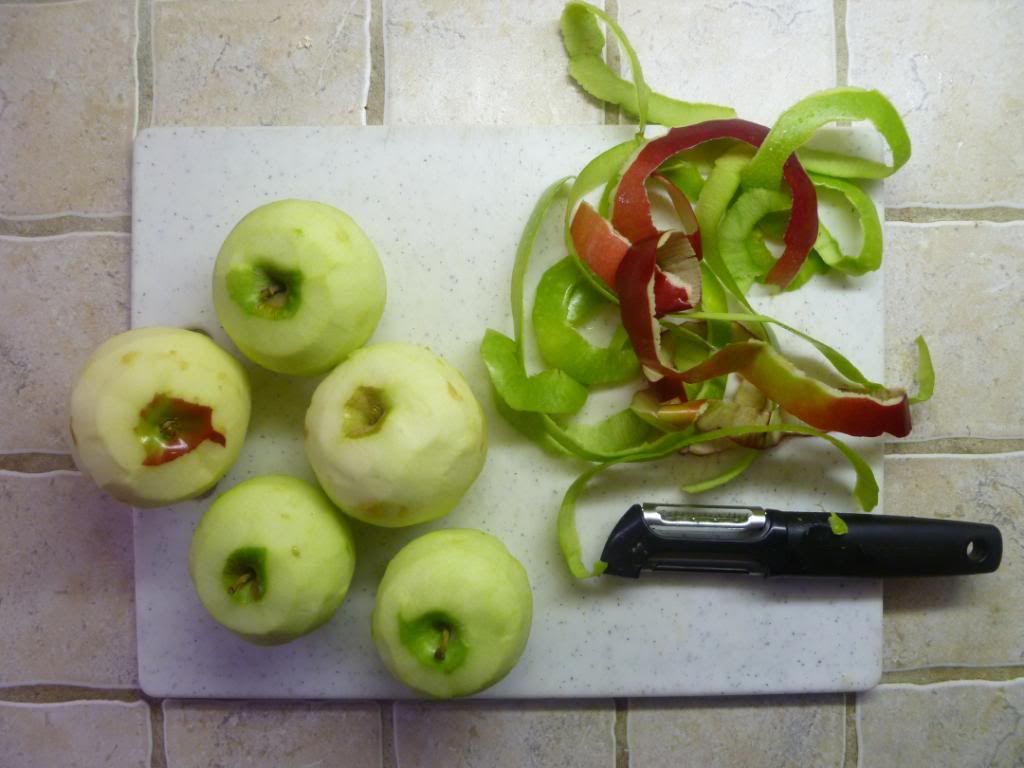
This picture is solely to show you that I can take an apple's skin off in ONE long strip, which I think makes me a rock star.
Turn the oven on to 375 degrees. Peel, core, and slice your apples.
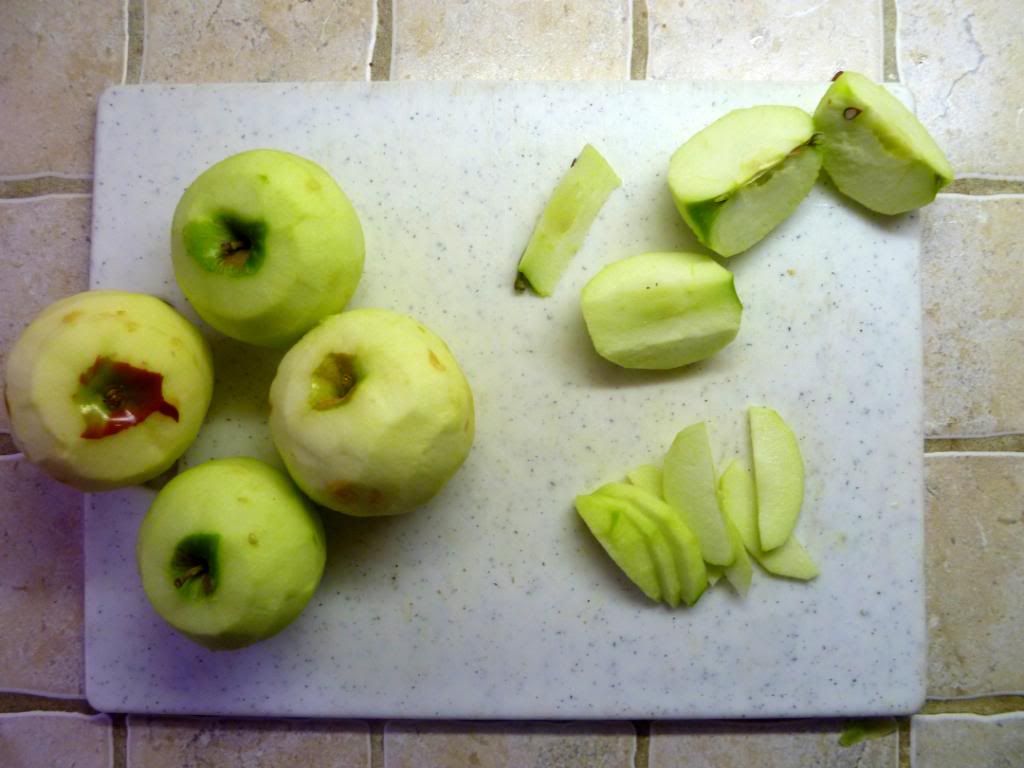
Apples in various stages of readiness
I find it easiest to slice them in half, then quarters, then just slice off the core at an angle. I am not sure if that explanation makes sense. See picture for details? Maybe? Anyway, slice them up, then throw them in a bowl.
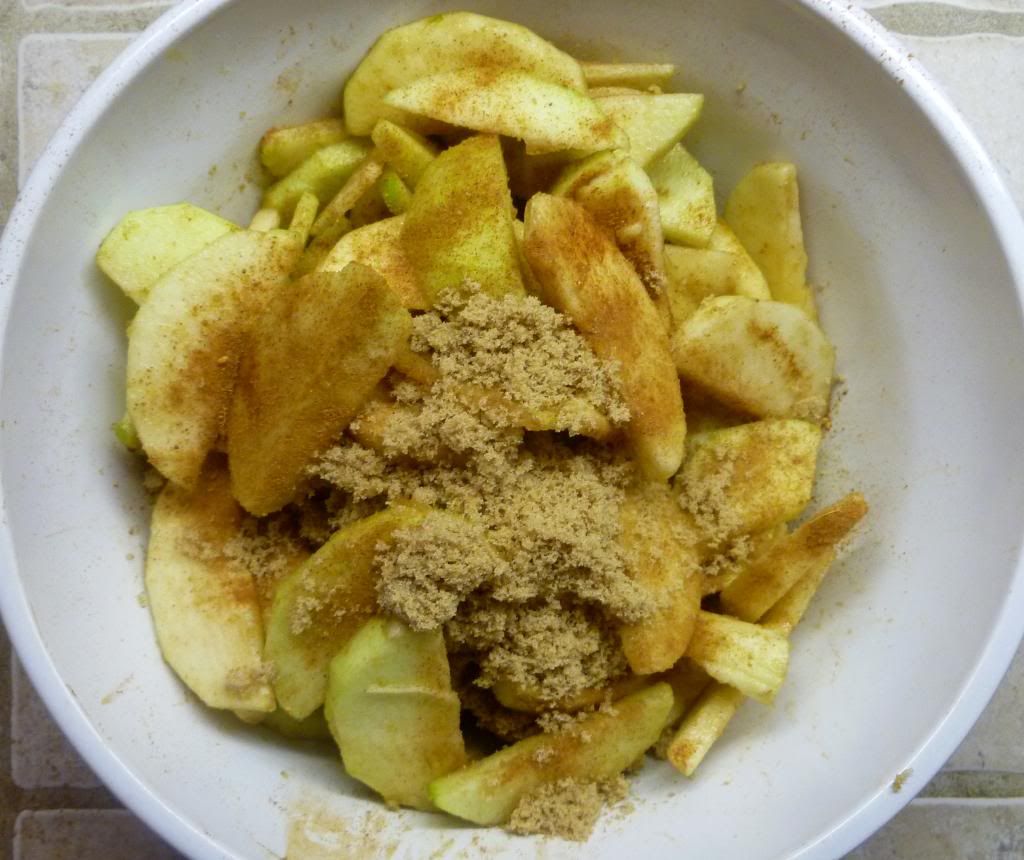
Spice-dusted, sugar-crusted
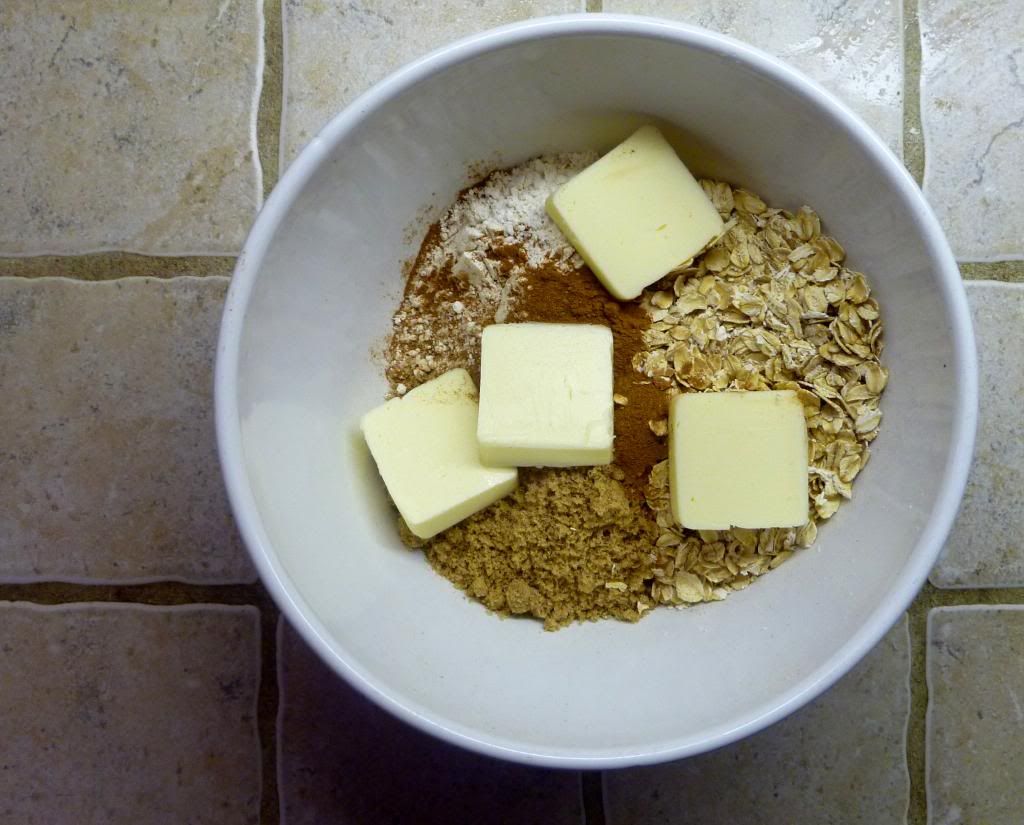
Add a tablespoon of cinnamon and the brown sugar to the apples, then mix it just a little by hand to kind of coat them. While you make the crisp, the apples will meld with the sugar and start getting syrupy and delicious. Set them aside and throw all of the crisp ingredients into a bowl.
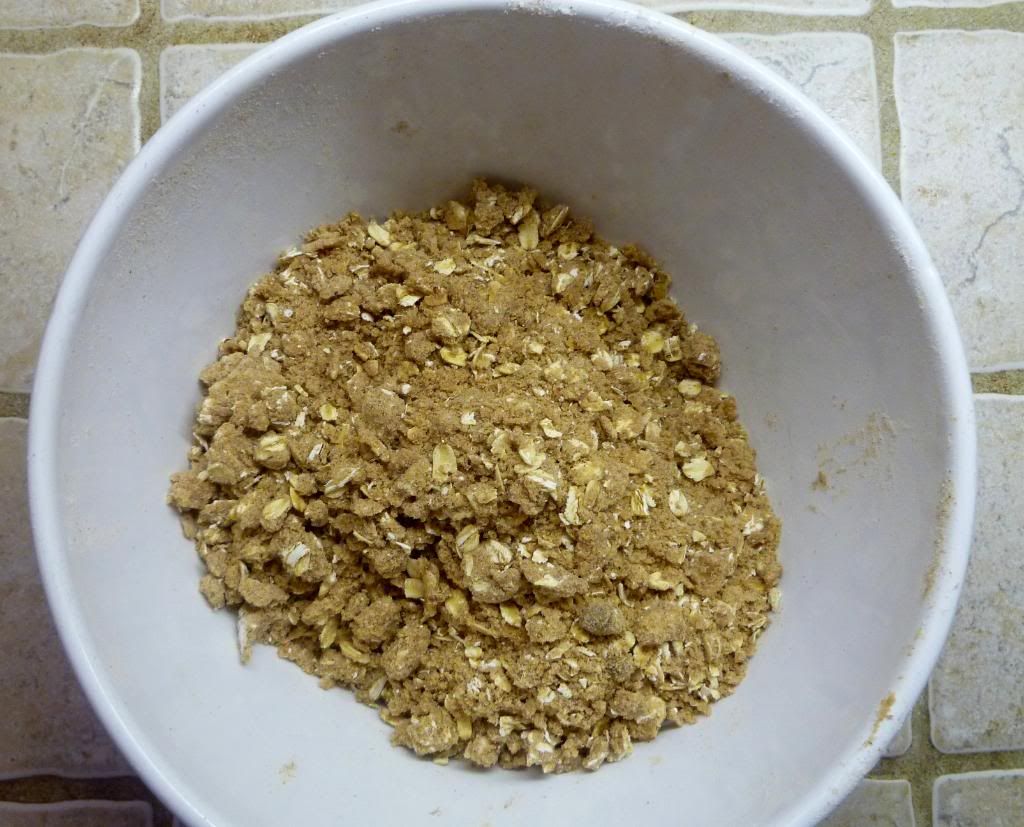
This is the best part
Cut the butter into the other ingredients using a pastry cutter, a couple of knives, or even just "rubbing" it in with your fingers until there are some largeish clumps but it is fairly well mixed.
I might have added a little more butter. I can't remember. DAMMIT.
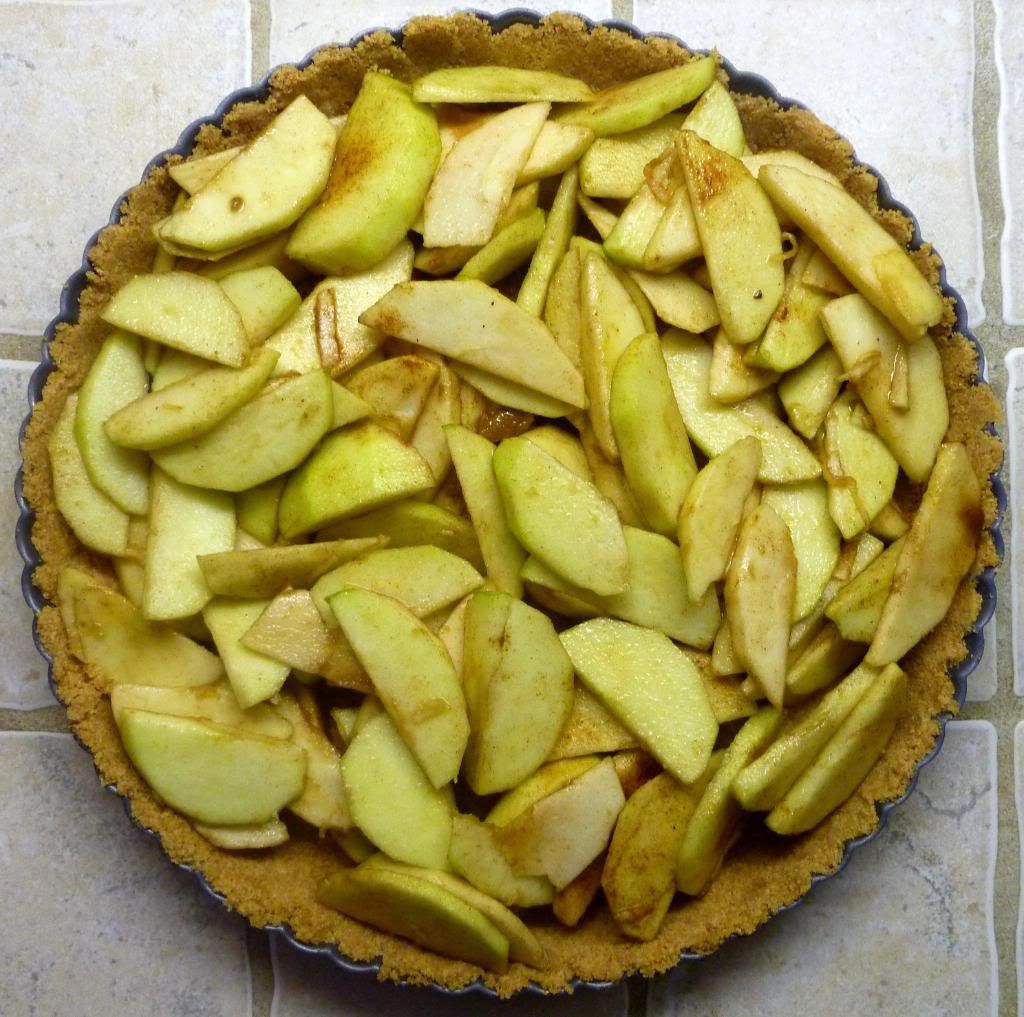
 Take the crust out of the fridge and scatter the apples in it evenly.
We are so scattered.
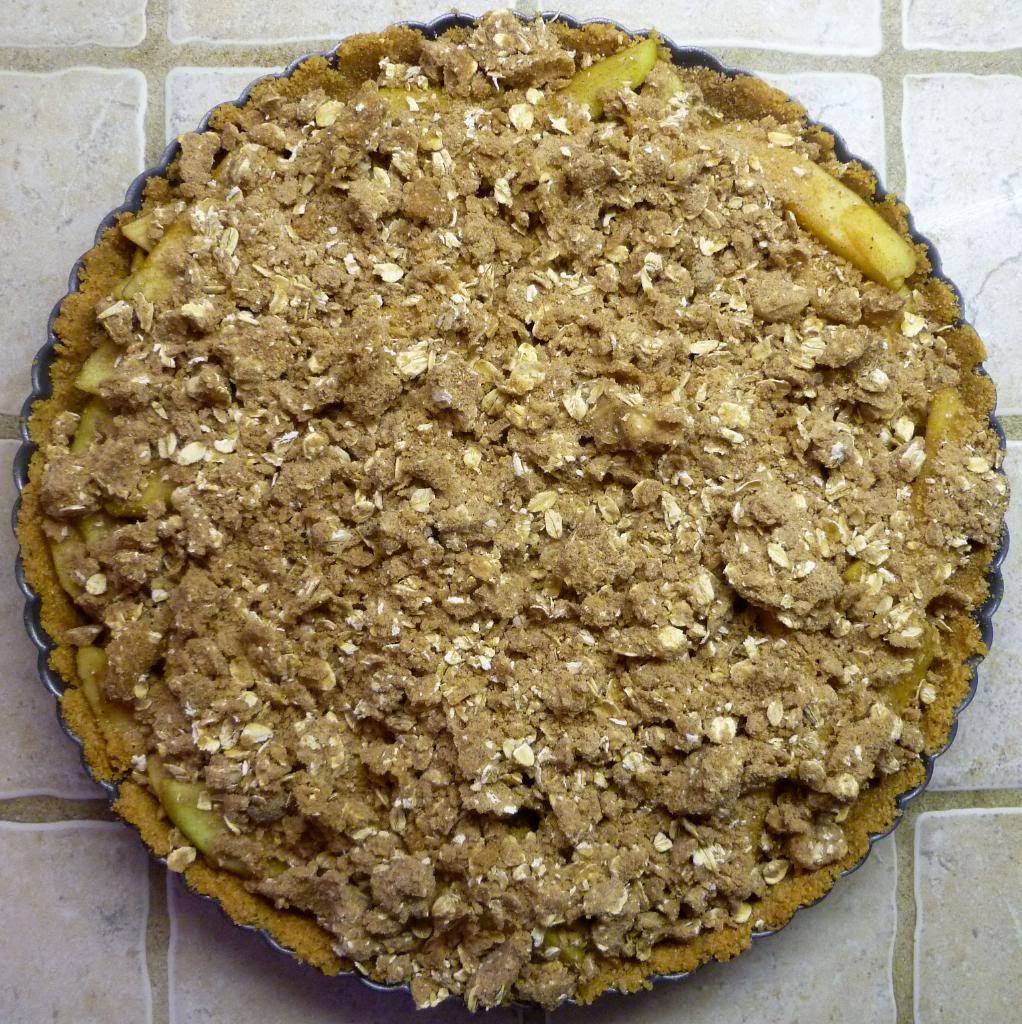
Do the same thing with the crisp topping.
I know, you're probably shocked at the level of difficulty here.
Put it in the oven at 375 degrees for 30-45 minutes. Check it at 30 minutes by stabbing through the crisp near the center. If the apples are mushy, it is good to go. If they are still hard, it needs more time. If the topping gets too dark, throw some foil over it to keep it from further browning.
HOT! HOT HOT HOT!
Let it cool for about ten minutes before you try to take the outer ring of the pan off, or it will fall apart. The crust just needs to set a bit.
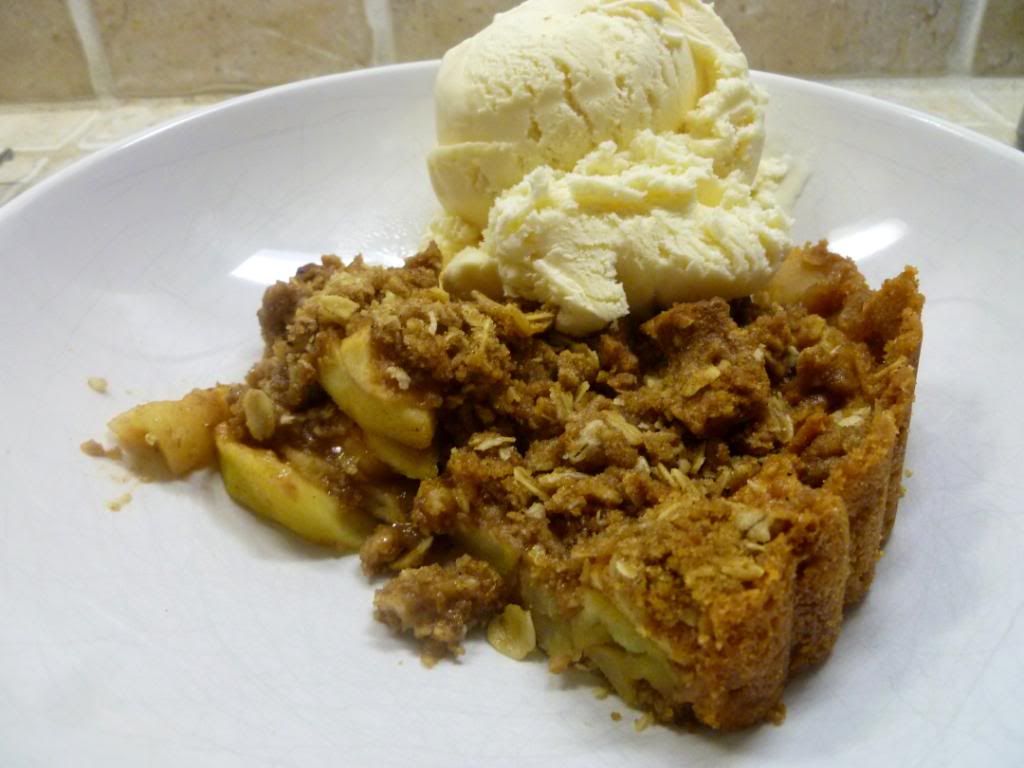
I can feel the weight of flavor!!!
If taking it out of the pan does not go well for you, just serve it from the bowls and don't let anyone see the mess. They won't care. You MUST eat this with ice cream, and you MUST eat it warmed.
So effing delicious.
Once again, ladies and gents, you're welcome.

Wednesday, October 12, 2011

Hyndman's Peak

Taken yesterday out East Fork
Look! There's a place for sale. We could be neighbors.

Monday, September 5, 2011

So Polite.

I could bore you to death by going over all of the chores and health-type shit I did today, but instead, I will gift you with Charlie's current favorite story. It is a true story, and none of the names or places have been altered to protect anyone's identities.

Charlie's Current Favorite Story, as told by Charlie

Showing Clifford the view
Once upon a time, there was a Mama and her Charlie. They were riding on a BIG BIG AIRPLANE. And they were going from Wisconsin where Grandma Mary lives all the way to Hailey. So Mama and Charlie are on the plane. And Mama hears a rumbly sound, and she turns to Charlie and she says, "What was that noise?"

(This is the part where Charlie can hardly keep a straight face, because he knows what is coming. It takes a few seconds for him to compose himself and continue.)

And Charlie yells, "EXCUSE ME I FARTED!!!!!!!!"

(That is the part where Charlie dissolves into giggles. He leaves out the part about how everyone on the packed flight looked around shiftily and edged away from us.)

And they all lived happily ever after the end.

Wednesday, August 10, 2011

Shitshow Kitchen: Magic Cookie Bars

These are also called Seven Layer Bars, but that sounds like some sort of salad/cookie hybrid to me and not at all like the sugary, chewy, delicioso candybar of a cookie that this recipe makes.

This recipe is actually so easy to make that I have done it while intoxicated. Literally. It is nearly impossible to screw it up. I mean, even if you just dumped it all in a pile and mixed it around then baked it, it would probably be good. It is Easy^Greyskull.

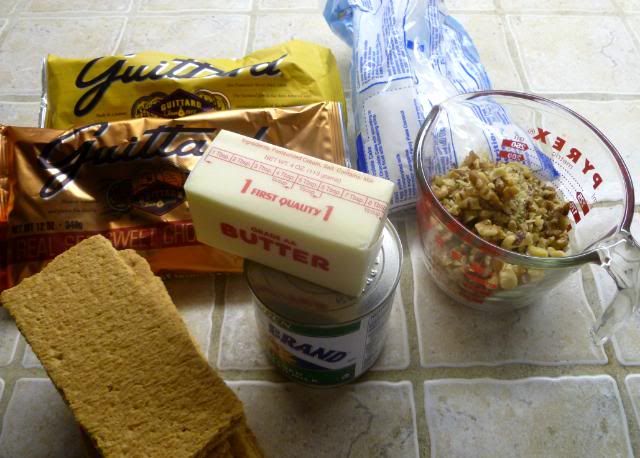
YOUR INGREDIENTS!
Yes, those are Fahncy Chocolate Chips
1 stick butter (1/2 cup)
1 sleeve of graham crackers
1 cup chocolate chips
1 cup butterscotch chips
1 can sweetened condensed milk
1/2 cup chopped walnuts
1 cup shredded sweetened coconut

Preheat your oven to 350 degrees. Grab a 9x13 cake pan and cut the butter into it. Kind of strew it about. Then slide the pan into the oven while it preheats.
This picture is so exciting I bet you are about to pee.
While the butter is melting in the oven, dump your graham crackers into a ziplock bag and smash them with the condensed milk can.
Food doubling as kitchen tool? Check.
When your crackers are crumbs, grab an oven mitt (or your ghetto mitt AKA dishrag) and pull the pan out.
I love how this recipe involves zero work.
The oven just melted your butter for you. BAM. Sprinkle the crumbs on top of the butter somewhat evenly.
That was so difficult I need a break.
Then sprinkle the chocolate chips and butterscotch chips on evenly.
It is possible this picture is blurry because I was shaking with fatigue.
Open your can of condensed milk. It is best to kind of give it a stir before your drizzle it over the whole pan. Scrape out the rest of the can with a spatula. Realize that your condensed milk is... not right.
That grainy sugar at the bottom? Is totally supposed to have been melted into the milk.
Thank you, Carnation, for fucking me over on this one. What the hell. The easiest recipe in the world, using ALL PREPARED INGREDIENTS, somehow devolves into a shitshow once again. If this happens to you, do not scrape out the sugar crystals at the bottom of the can, because they are grainy and gross and sticky and if you try to flick them into the pan they will only end up coating your walls and cupboards, and even though you wipe everything down you will miss a spot, and it will harden onto the wall and you'll find it later and try to pry it off and the paint on the wall will come with it.

YOU HAVE BEEN WARNED. Also, this may have been caused because I was using the Reduced Fat edition of the milk, and let this be a lesson unto me. Why would I even try to reduce the fat in something that is obviously going to kill me via diabetic coma before I am fat enough to succumb to obesity?

Throw the nuts and coconut on top and press it down.
COVER THE MILK!! COVER IT!! LET NO ONE SEE YOUR SHAME!!!
Pop it in the oven and set the timer for about 20 minutes. Take out the pan when it looks roughly like this:
NO ONE WILL EVER KNOW. IT IS OUR LITTLE SECRET.
 Let it cool, then cut it into bars. Do NOT try to eat while it's hot, or you will just burn your tastebuds off of your tongue and be unable to enjoy them when they cool. I usually cannot wait for them to cool on their own, so I cut them into squares after they're not molten, then take them out of the pan and wrap them in aluminum foil and put them in the freezer. I think they're best frozen.
Heaven.... I'm in heaven....
AND JUST LIKE MAGIC, they are perfection. Cut them into tiny squares and give your friend ONE square... then see what they will give you for MORE. One pan of cookies will magically turn into you naming your price. Control of the remote for a week? You got it. No dishes for the next few days? Sure thing. A baby liger? Let me call the zoo.

MAGIC.

Sunday, July 31, 2011

Shitshow Kitchen: Oven-Dried Tomatoes

I want to start by telling you this recipe has the single greatest work to reward ratio of any recipe ever devised. I defy you to give me an easier recipe that results in a better and more versatile finished product.
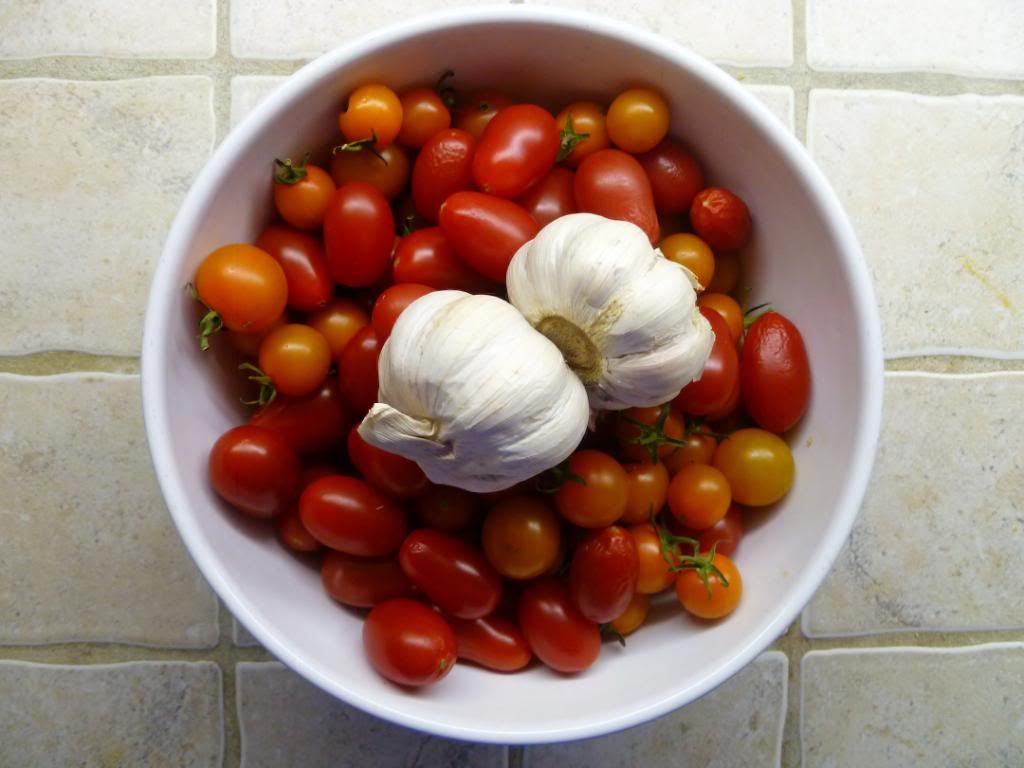
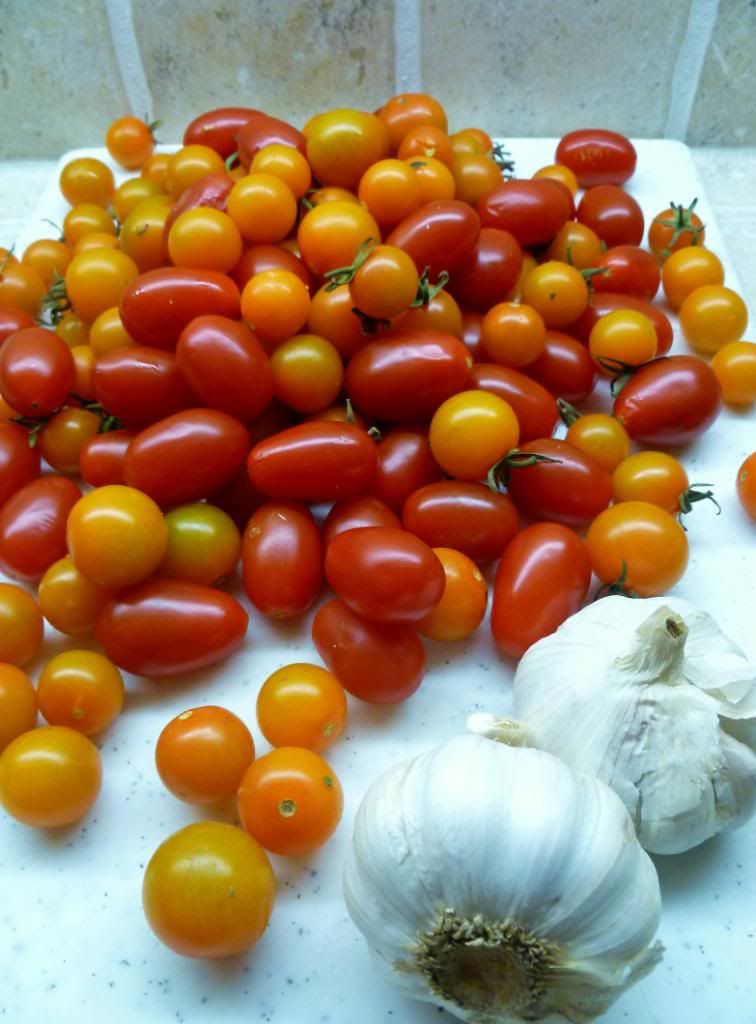
Your ingredients.


Ingredients:
Cherry or grape tomatoes
Garlic
Olive oil
Kosher salt


I didn't list amounts because there's no set amount on this stuff. I used about two pounds of tomatoes and two heads of garlic, although if you want to do more or less you just use more or less.

Pre-heat the oven to 250 degrees and de-stem your tomatoes.
No one eats stems, not even your mother "because they are good for you."
Take out two sheet pans-- the kind with the little rim are better, jelly roll pans, but if you accidentally caught them on fire the last time you used them as a drip pan for your meatloaf and then you threw them out the back door into the snow until they stopped smoking and then you forgot about them and moved, so you don't have them anymore, you can use cookie sheets. I wrapped mine in aluminum foil because I hate doing dishes.

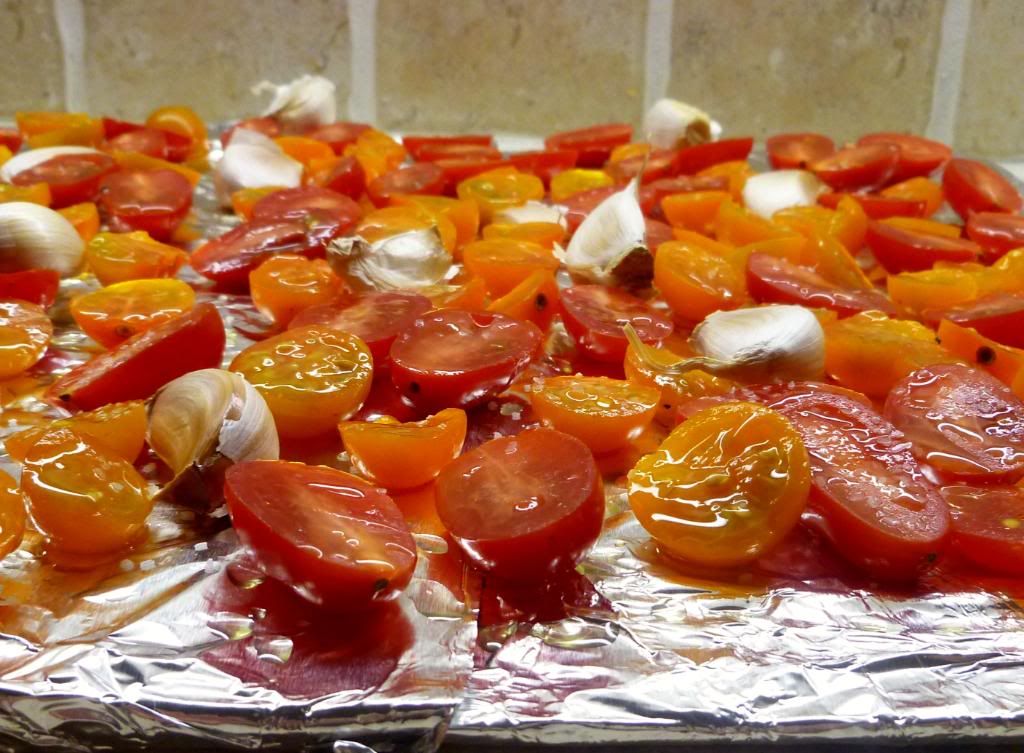
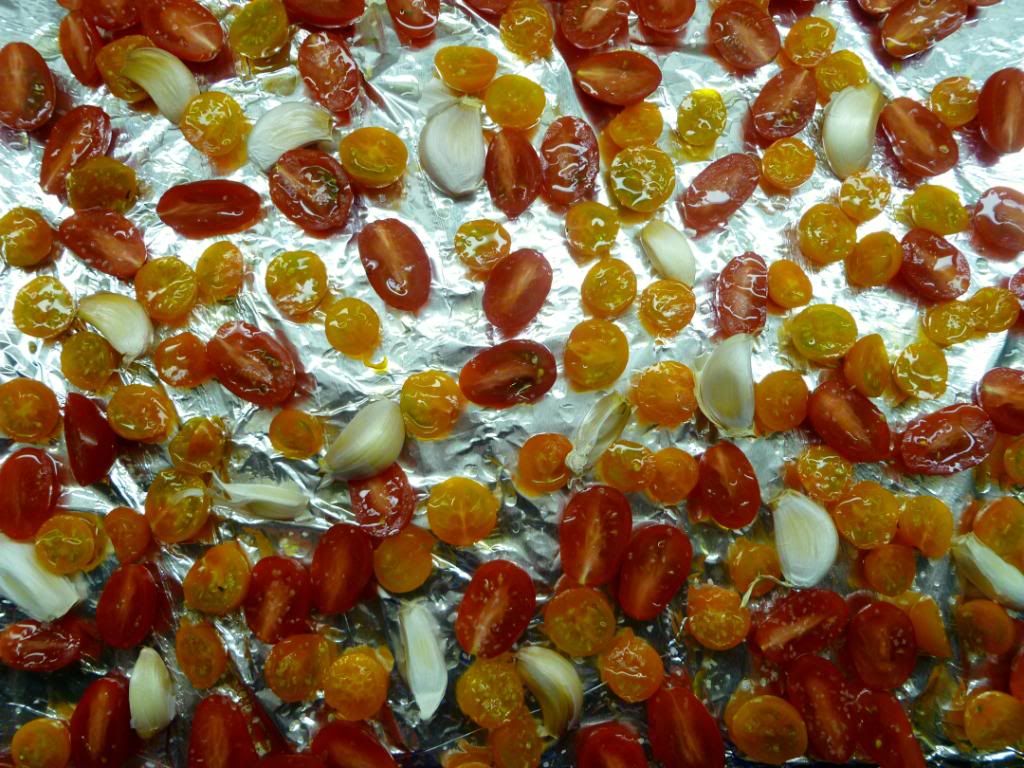
Cut all your tomatoes in half and spread them on the pans. You're supposed to cut them on the equator, like the fat middle, but I always forget. Then separate the garlic into cloves (with the peels still on them) and cast them about the pan.
We are indiscriminately halved
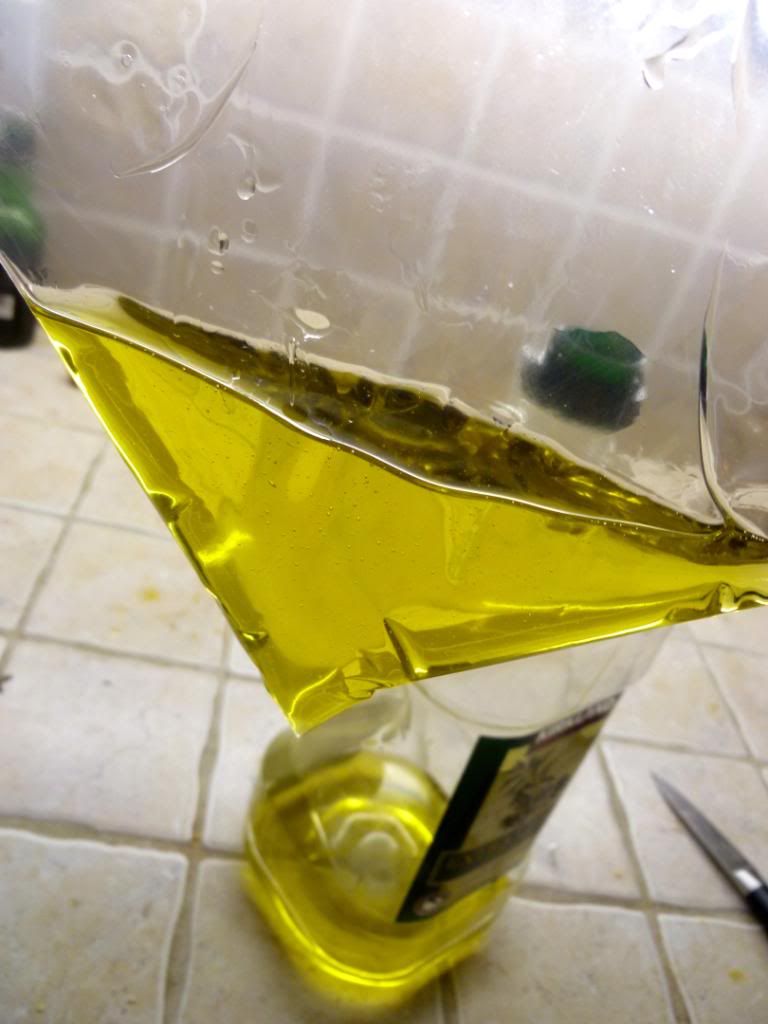
Drizzle the tomatoes with olive oil (I cheat and use a plastic bag with the corner snipped off for easy drizzling) and sprinkle with kosher salt.
Totally cheating and I don't care who knows it
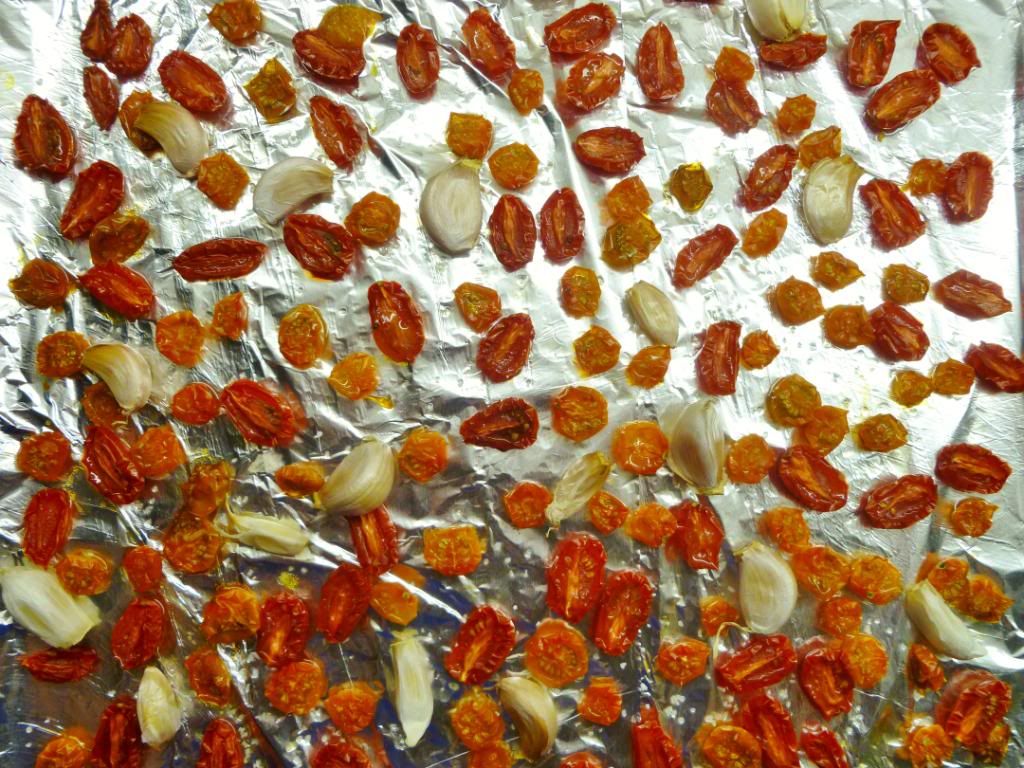
Put your pan in the oven for 2-3 hours. You can take them out when they go from this:
We are plump and watery
To this:
We are emaciated and dessicated
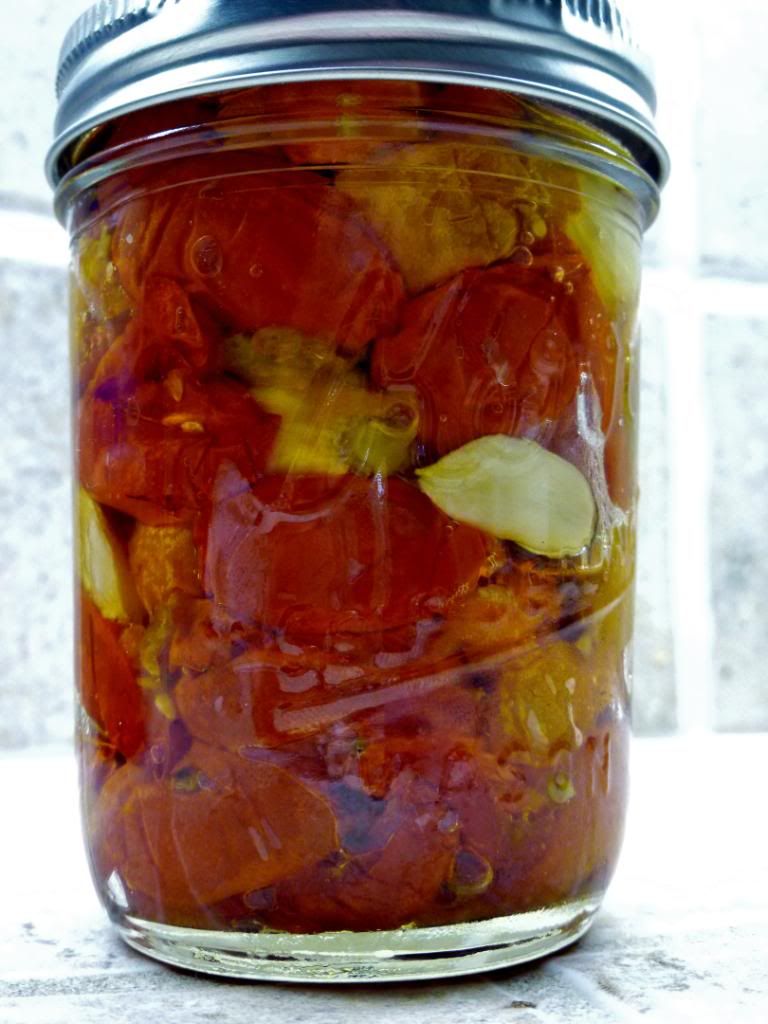
Let them cool for a few minutes, then pop the garlic cloves out of their skins. Scrape the entire thing into jars or tupperwares and cover with olive oil.
This is the greatest ingredient in the world
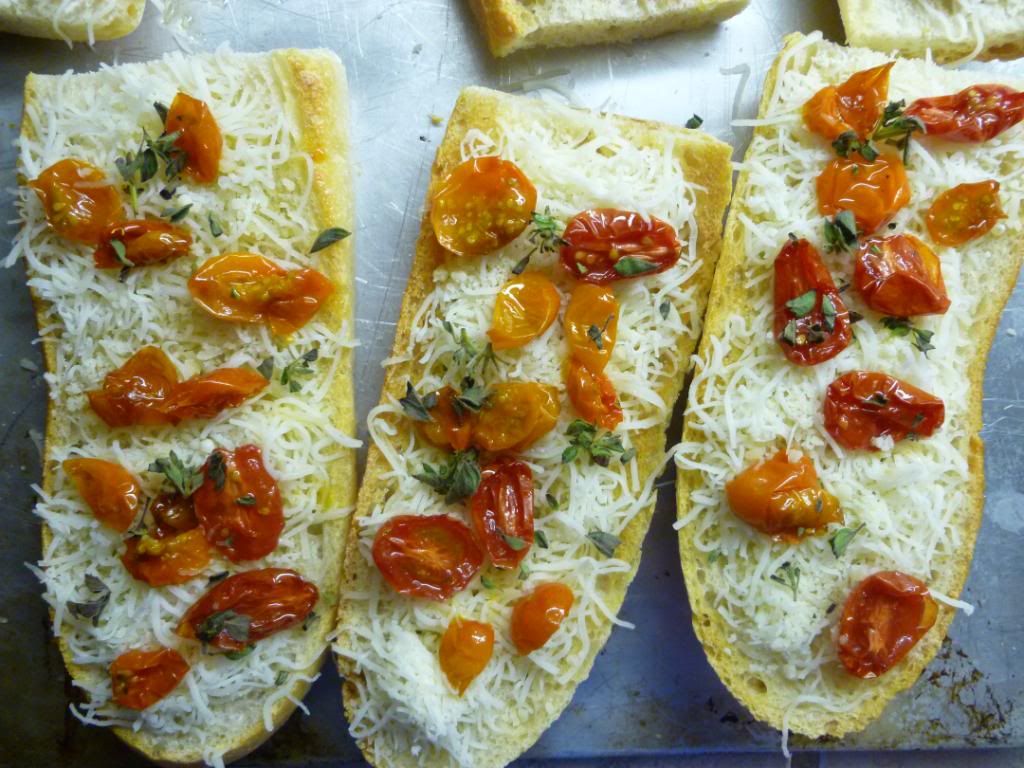
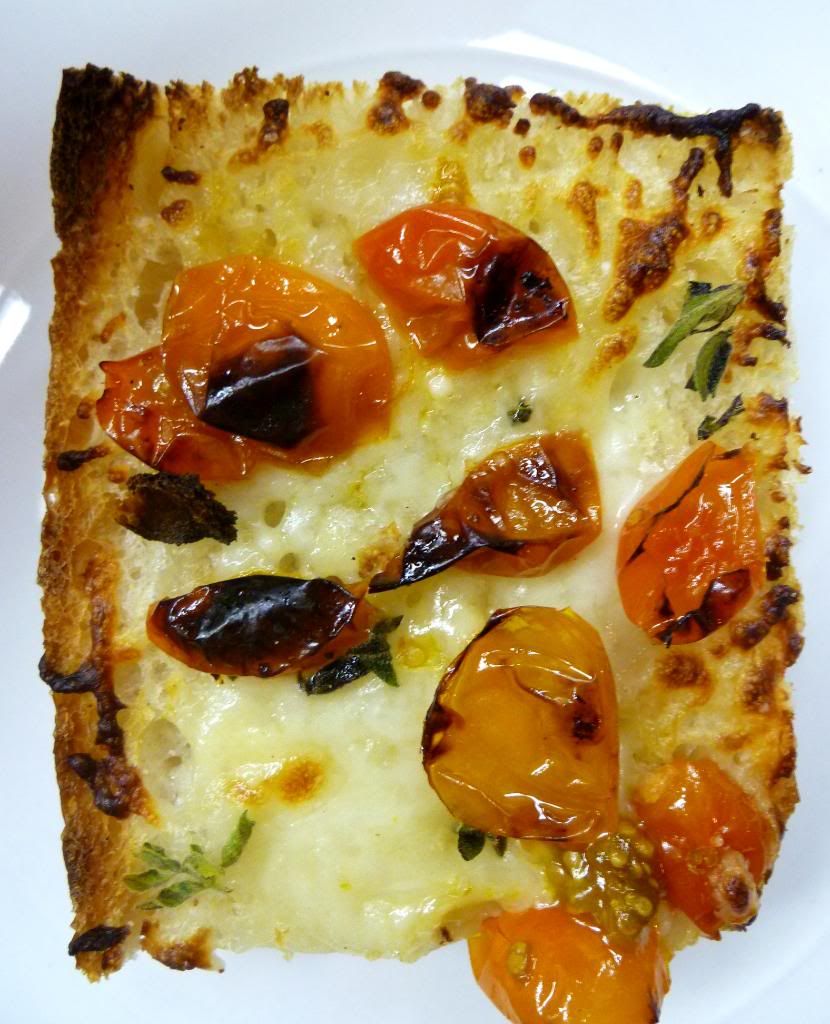
You can use these tomatoes on ANYTHING. I use them on bread with mozzarella, parm, and oregano to make awesome tapas.
I don't have an after picture because I burnt the shit out of them
Cut into squares and watch the marriage proposals roll in.
I was salvaged from the flames
Or you can toss them with noodles, oil, parmesan, and basil for an easy dinner. Use them as a pizza topping. Throw them (with a little oil) in the food processor for a tomato tapenade. Mix some of the tapenade with mayo for tomato-garlic mayo. The oil on its own is kind of a tomato-garlic infusion, and can be used in the place of your other oil in recipes. I usually just keep filling the jar with oil when I take out tomatoes, so at the end you have a jar of tomato-garlic oil. NOM.

Basically, YOU CAN DO ANYTHING WITH THESE and they are so delicious! They have just the right concentrated tomato flavor without any of the chewiness of sun-dried tomatoes. They are heaven. This will make your life beautiful.

ENJOY, ladies and gents. The easiest, tastiest, most versatile recipe EVER.


Adapted from Smitten Kitchen

Sunday, July 24, 2011

Shitshow Kitchen: Pizza!

OK. To make the pizza, you need:

One half recipe of flatbread, finished to the "take it out of the oven" part
Four cans of roasted garlic and basil diced tomatoes
At least 16oz. shredded mozarella
A couple handfuls of parmesan
A few sprigs of fresh oregano and basil
Any other toppings your little heart desires

OK! HERE WE GO!!
Turn the oven on to 500 degrees. Maximum heat. Put your pizza stone or cookie sheet into the oven while it heats up. Take your cans and open them.
This is totally cheating but it is the best.
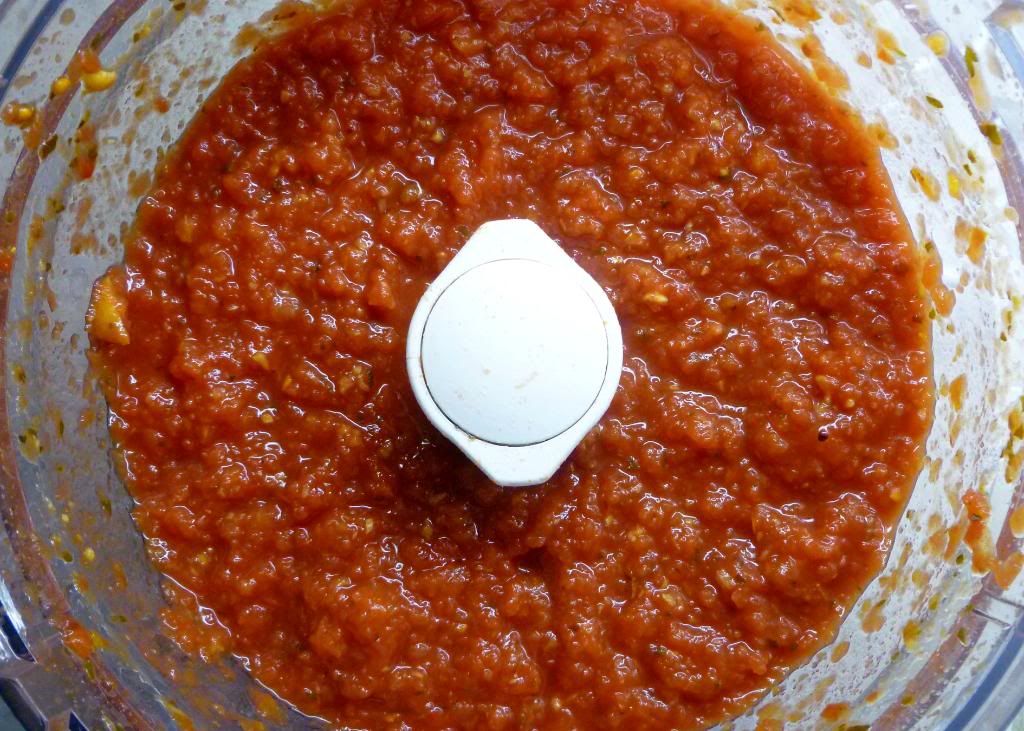
Drain the tomatoes. You can save the juice for Bloody Marys... or just add some to a glass with vodka and drink it while you continue. Whichever. Throw the tomatoes in a food processor.
KILL THEM!
Turn on the food processor until your tomatoes are sauced.
Voila!
You are done with the sauce. I KNOW!! It is SO FUCKING EASY! Now take out your blisteringly hot pizza stone, do not use a wet towel to grab it or you will be sorry because water conducts heat and OW WTF WHY DO I NOT OWN OVEN MITTS. Then put the sauce on the flatbread. Be generous.
This is how hubby would prefer to eat it.
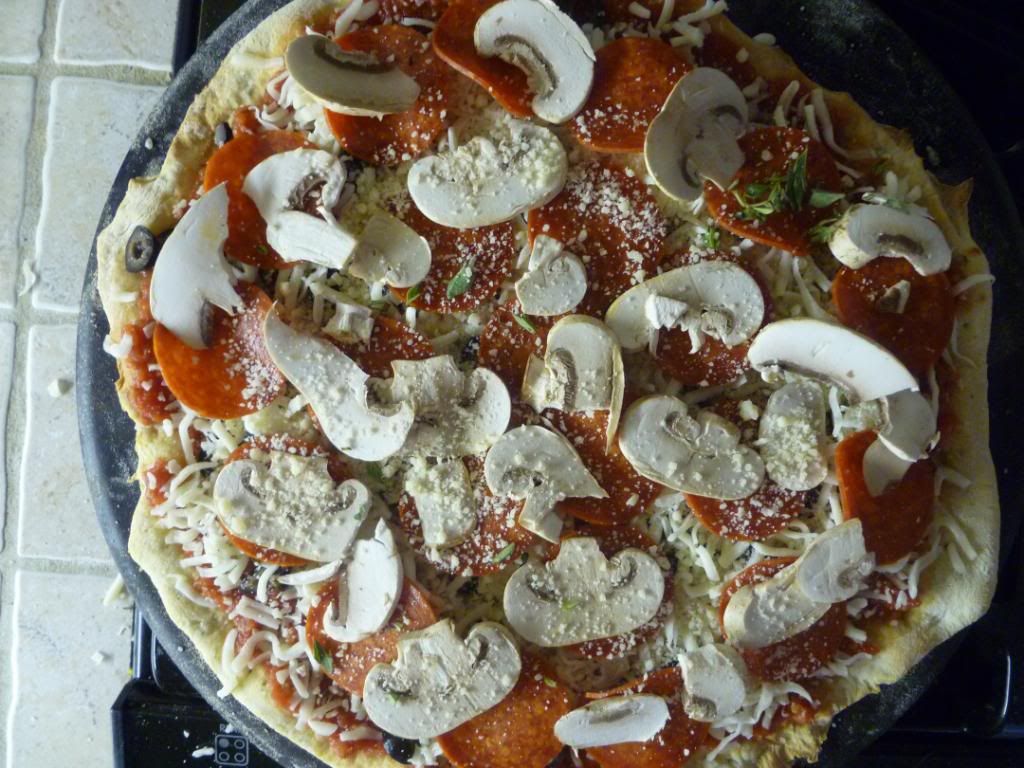
 Sprinkle on some oregano and basil, then any toppings that don't really need to cook (like olives), then the mozzarella (cover the sauce kind of lightly, a little cheese goes a long way), then sprinkle the whole thing with parmesan and put the rest of your shit on top. Pepperoni always goes on last so it will get crispy.
I did mushrooms last, so obviously I do not take my instructions seriously.
Throw it in the oven. If the crust starts getting too brown and the other shit is not done, turn on the broiler. It should take about 8 minutesish? If you turn the broiler on, though, watch that thing like a hawk so it doesn't burn black. When the cheese is turning a little brown in places and the pepperonis are getting crispish, pull that baby out.
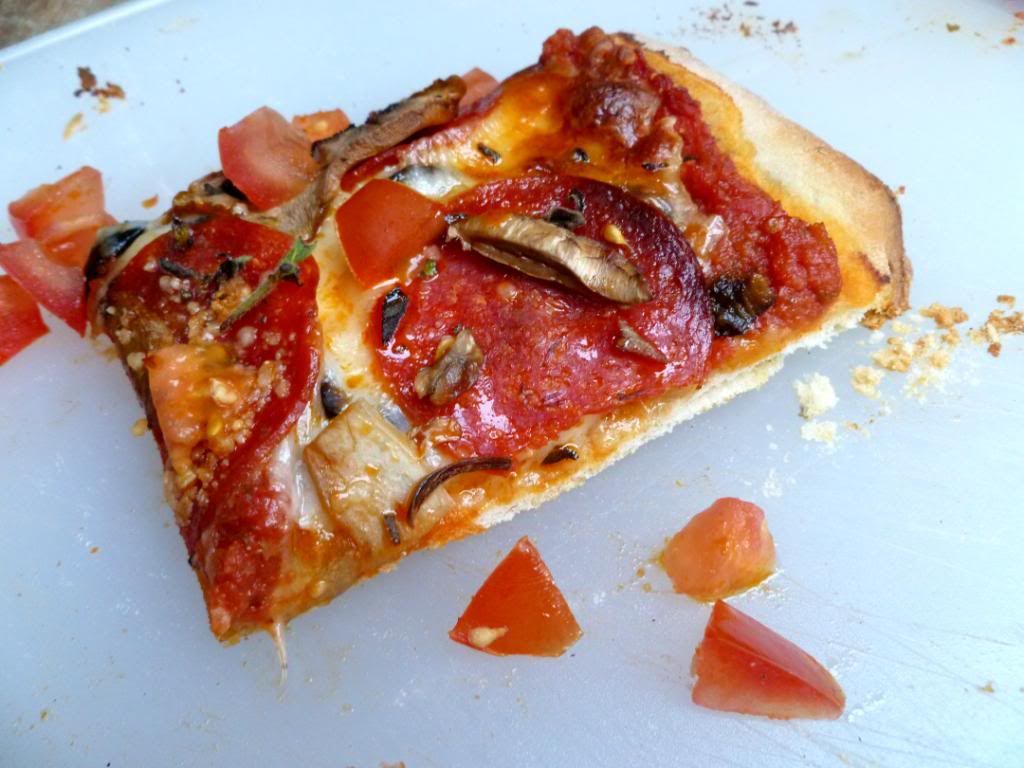
HOLY YUM, BATMAN

Let the pizza cool for a couple minutes, then sprinkle with parm and/or hot pepper flakes, cut it up, and serve! I always cut mine in squares because... well, because.
Tasty.
And there you have it. Grade A pizza in about the same time it would take to wait for delivery. You're welcome.

Monday, July 11, 2011

Shitshow Kitchen: Flatbread

RECIPE!

1 1/2 T granulated yeast
1 1/2 t salt
1 T sugar
1-3 T herbs (optional)
1/4 cup olive oil
2 3/4 cups warm water
6 1/2 cups flour

Look at me, all remembering the recipe. I am ON it. And this one is so easy that you can probably do it drunk. Or with a three-year-old, which is what I did.

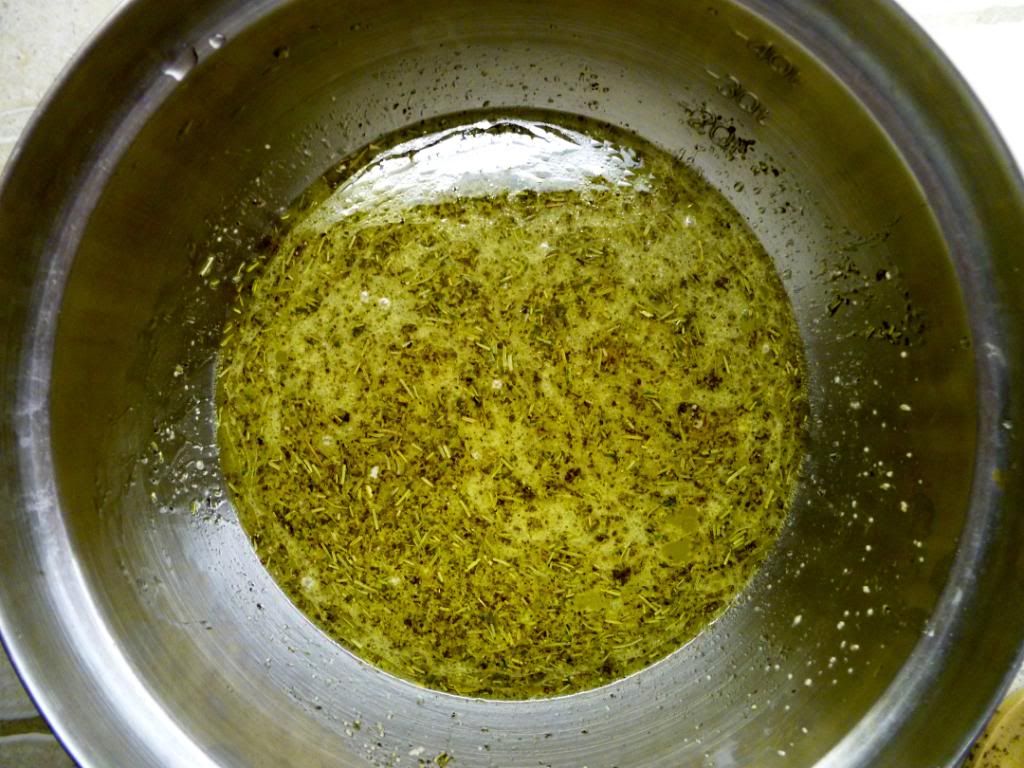
OK! Take your first five ingredients and throw them in a bowl. You can use whatever herbs you want, fresh or dried, depending on how you are using your flatbread. If they're dry, kind of moosh them in your hand to release the oils.

I was going to make pizza crust, so I used marjoram, fennel seed, oregano, basil, and lots of rosemary. If you have some sort of boutique olive oil you could use that instead of regular-- I'll use the oil I pack tomatoes in and it is YUM. I highly recommend rosemary regardless.
Yeast is kind of a gross word
Add the warm water (it needs to be relatively warm, not super hot, for the yeast to grow) and stir.
The dark matter of flatbread
You should wait for it to start foaming a little. Since I was working with a three-year-old, I had no choice but to continue at warp speed before he threw an entire pound of flour into the bowl.

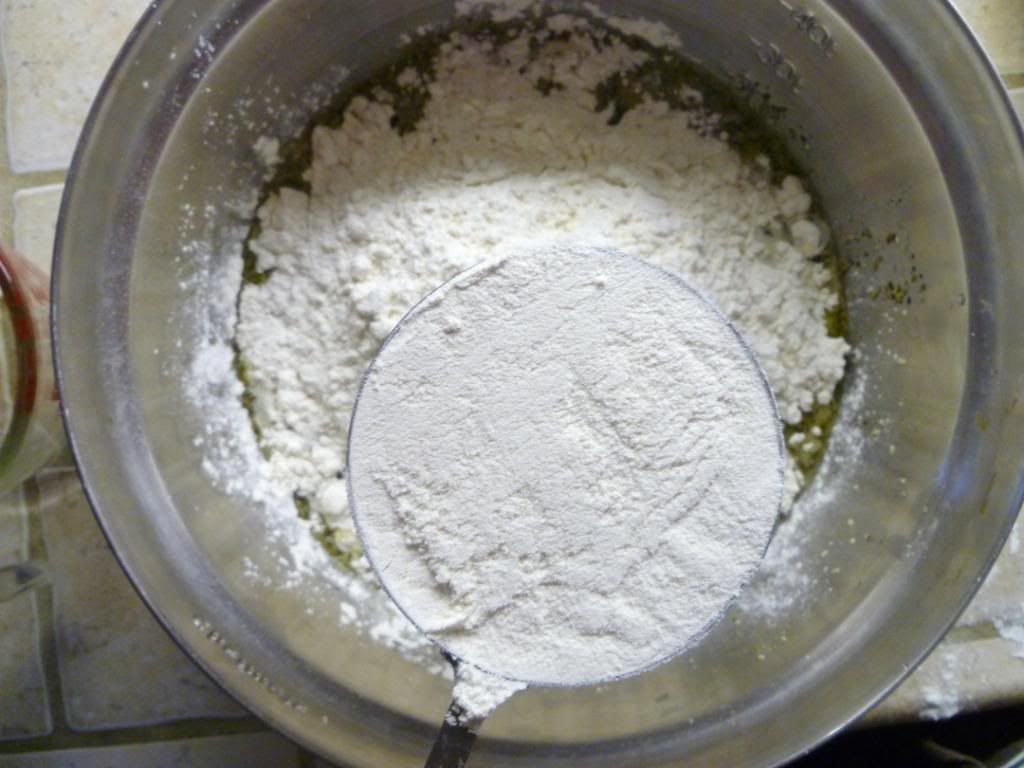
Add the flour. Make sure you kind of fluff it with a fork or something before spooning it into your measuring cup and leveling it off. This is VERY IMPORTANT otherwise your measurements will be way off and your flatbread will be more like thin cement than bread.
LEVEL UP
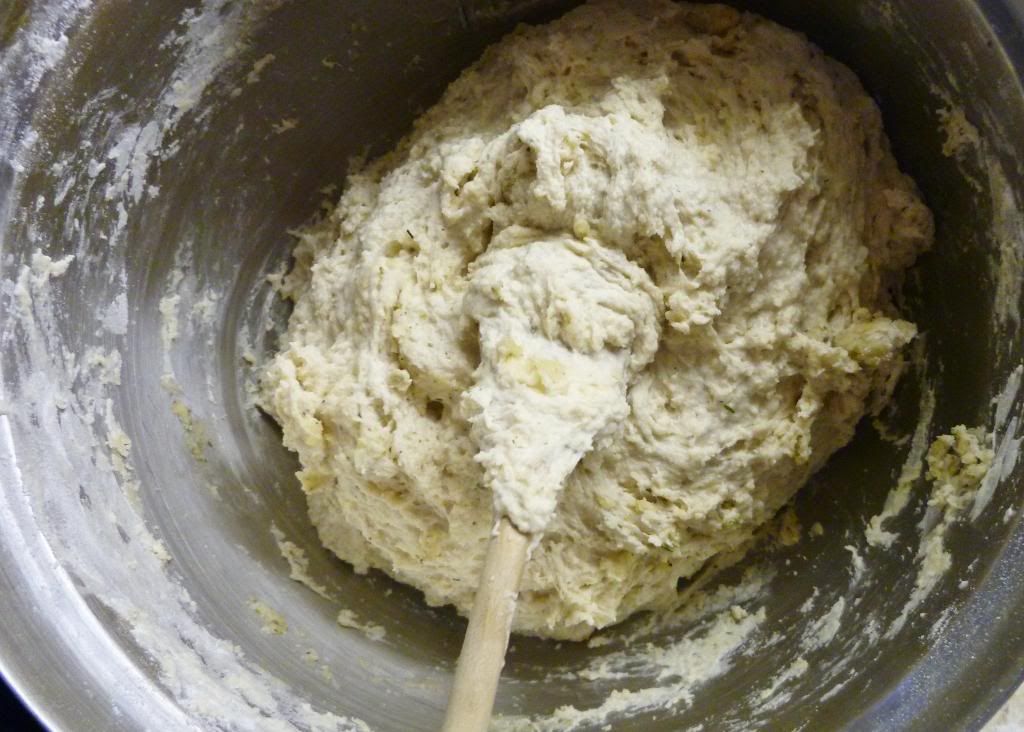
Stir it just until it all comes together and pulls away from the bowl.
Do not eat it yet. It is nasty.
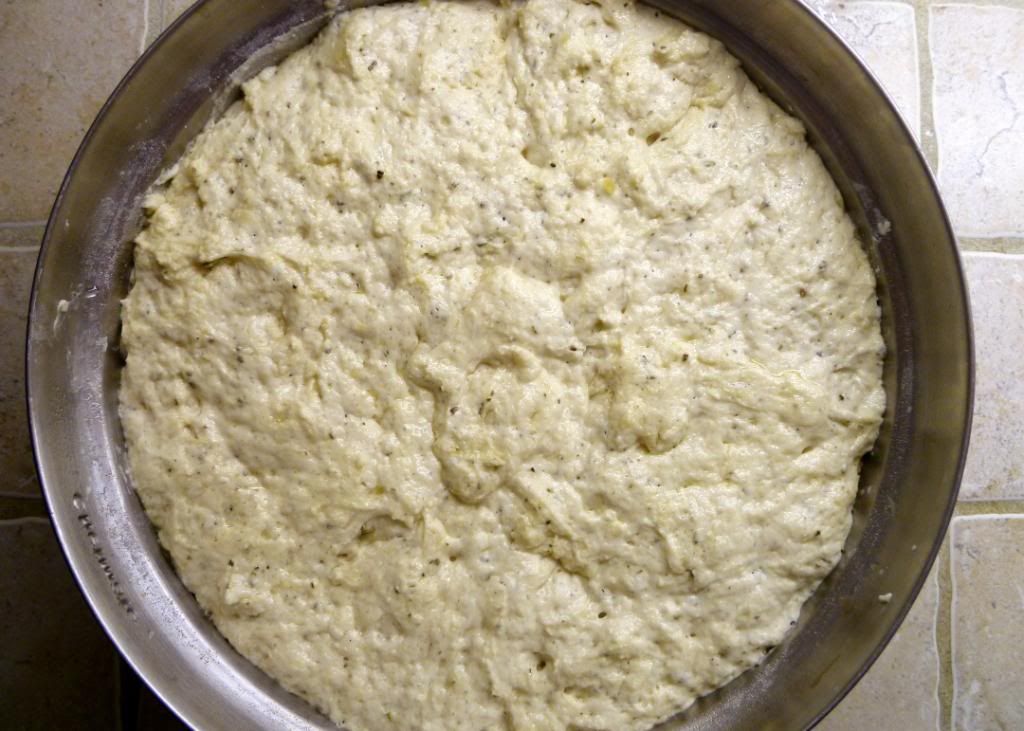
Spray it with non-stick oil and cover with plastic wrap, then set out in a warmish spot for 2-3 hours, or until it grows a large amount. I think it is supposed to double or something but mine always triples. Look, I'm not joking:
I will take over your home. JUST WATCH ME.
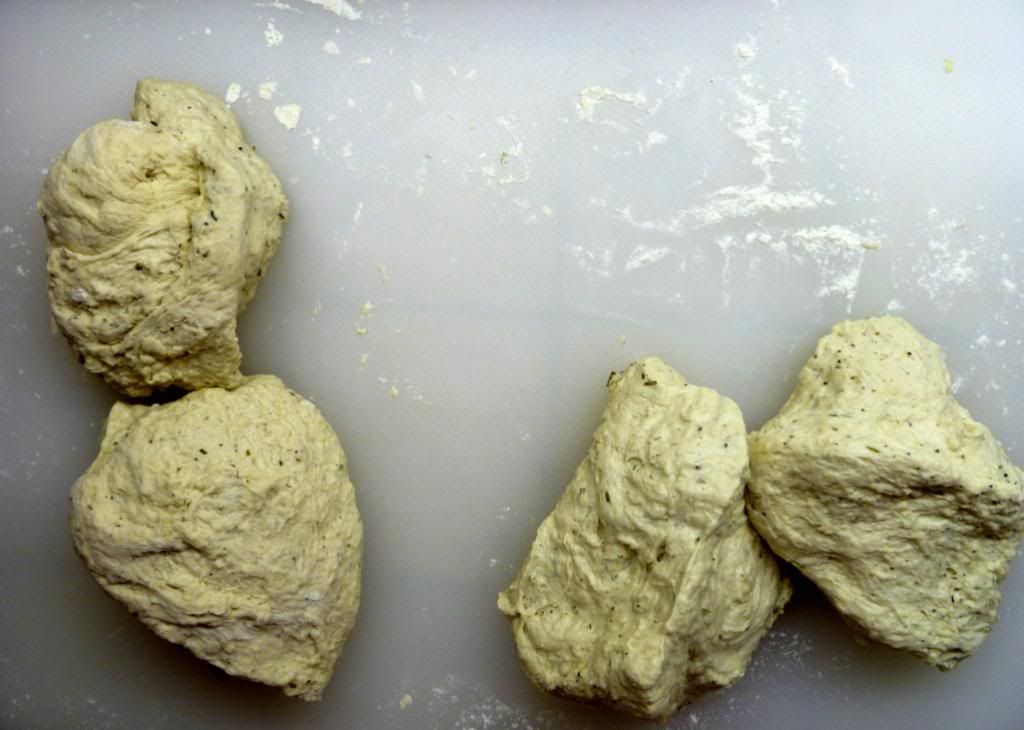
I decided to knead it for about four minutes, but I am not sure that is entirely necessary. It does help the bread to roll out better, otherwise it is too elastic and springs back into ball shape instead of spreading out when you roll it. SCIENCE, folks. It is just oozing science.
We will eat your children.
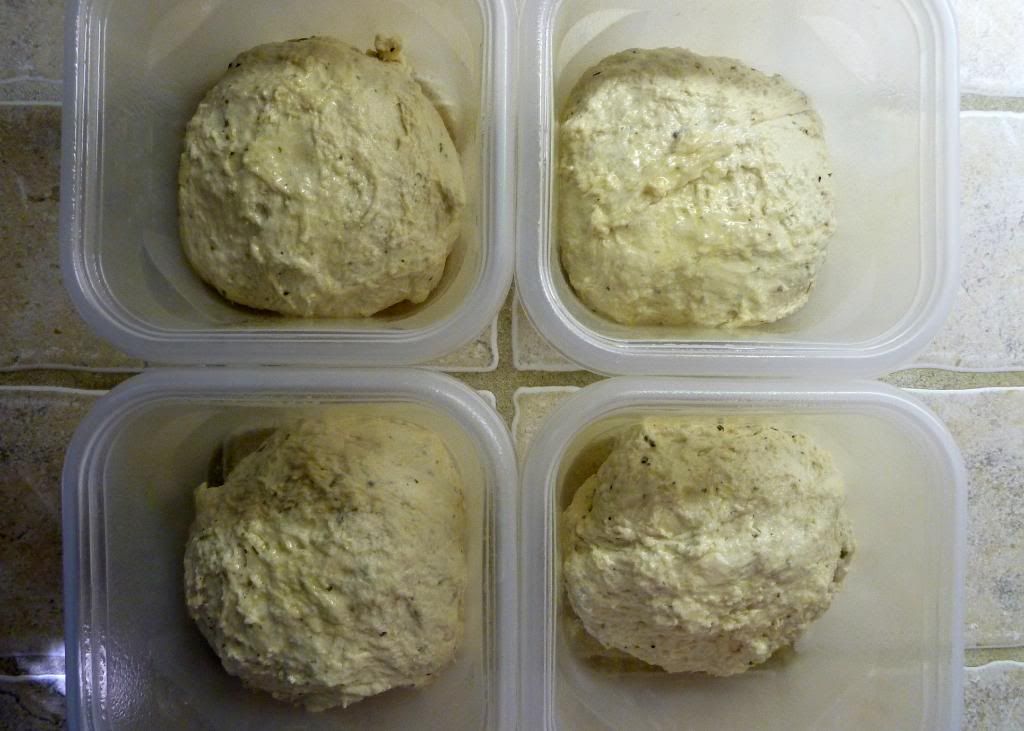
When you're done kneading, cut the mondo doughball into four smaller globs. Or maybe five. I think five, maybe, would have been a better idea, but the kid wanted to play with the extra dough so mine turned into four. I like to put them in separate containers, spray the tops with oil, then put them in the fridge.
We will still grow in our little terrariums. YOU CANNOT STOP US.
You can keep them in the fridge up to 12 days, and I honestly think you could freeze them at this point, too. You just need to thaw them before using, then allow them to rise about two hours or so. It will rise in the fridge, so if it's going to be a few days, you'll have to make sure it hasn't blasted its lid off and started consuming your produce if you go the fridge route. I threw them in the fridge, then pulled two out for dinner tonight, about an hour and a half before I needed them. They do need to rise again like the South before you roll them out.

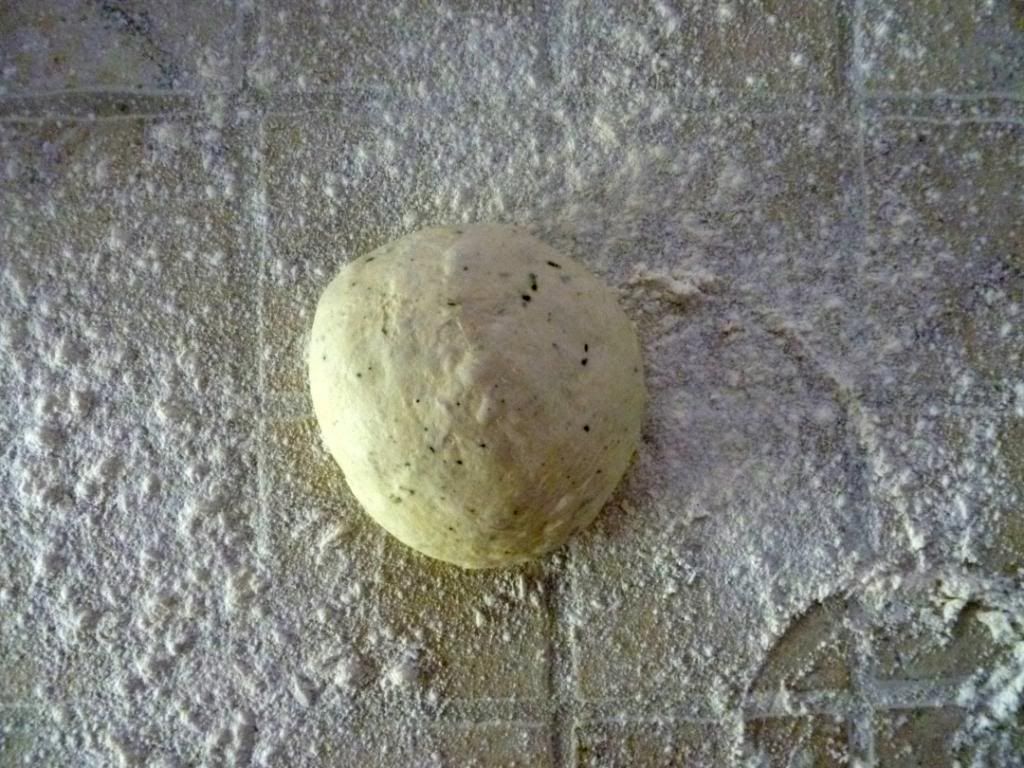
When you're ready, and you've let them rise again like Jesus for an hour or two, dust some sort of clean work surface with flour and throw that baby on it.

I am so good at looking innocent.
Before you start rolling, turn the oven on to 500 degrees and put your baking sheet/pizza stone in there while it heats.

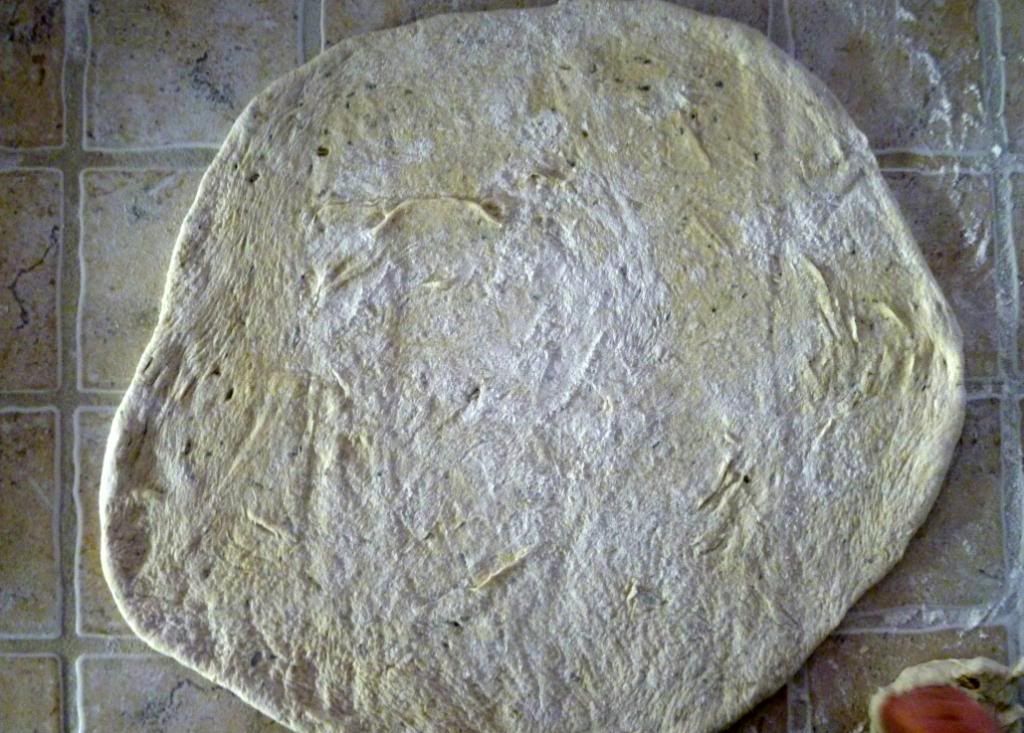
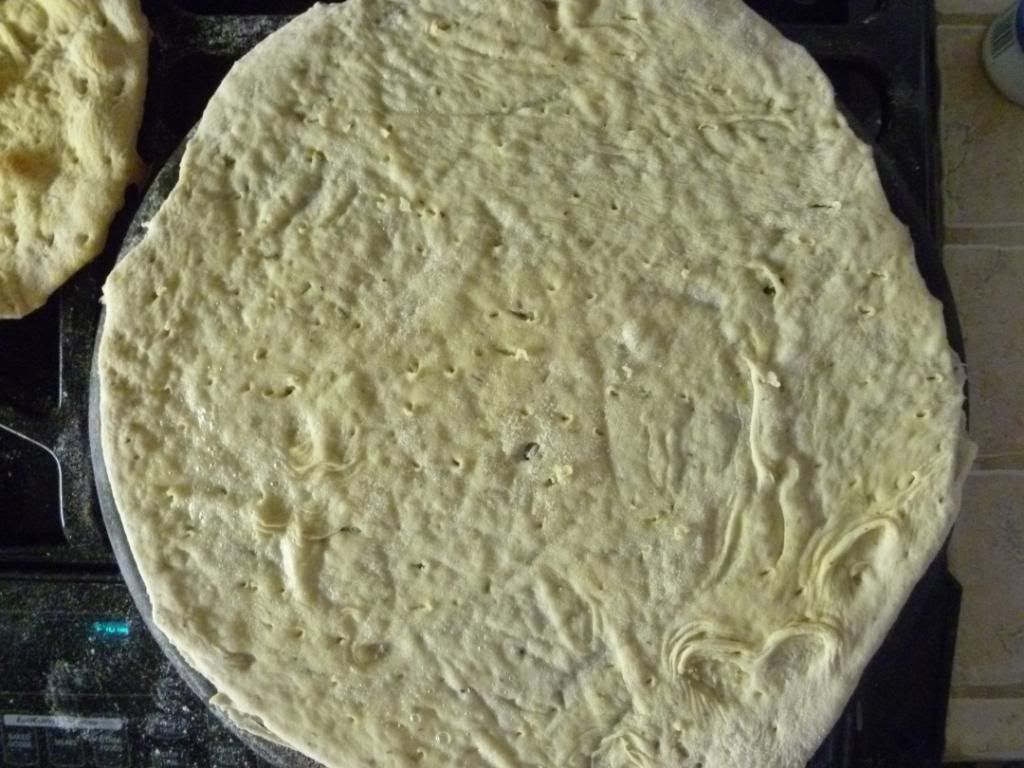
Roll it out. There is no need to roll it into a circle or square or anything, you can make it look like any random made-up shape in existence. I was just making pizza out of mine, so I wanted it to fit on the pizza stone.
Note small three-year-old hand in the bottom corner.
Put it on the hot sheet, being careful not to burn yourself because MOTHERFUCKER THAT THING IS HOT. Prick it with a fork all over or it will puff and bubble. Either brush with oil or spray with oil. Sprinkle with sea salt, grape halves, tomatoes, herbs, whatever, or just let it be, like I did.
Let it be, Let it beeeeee, Let it beeee, Let it BE
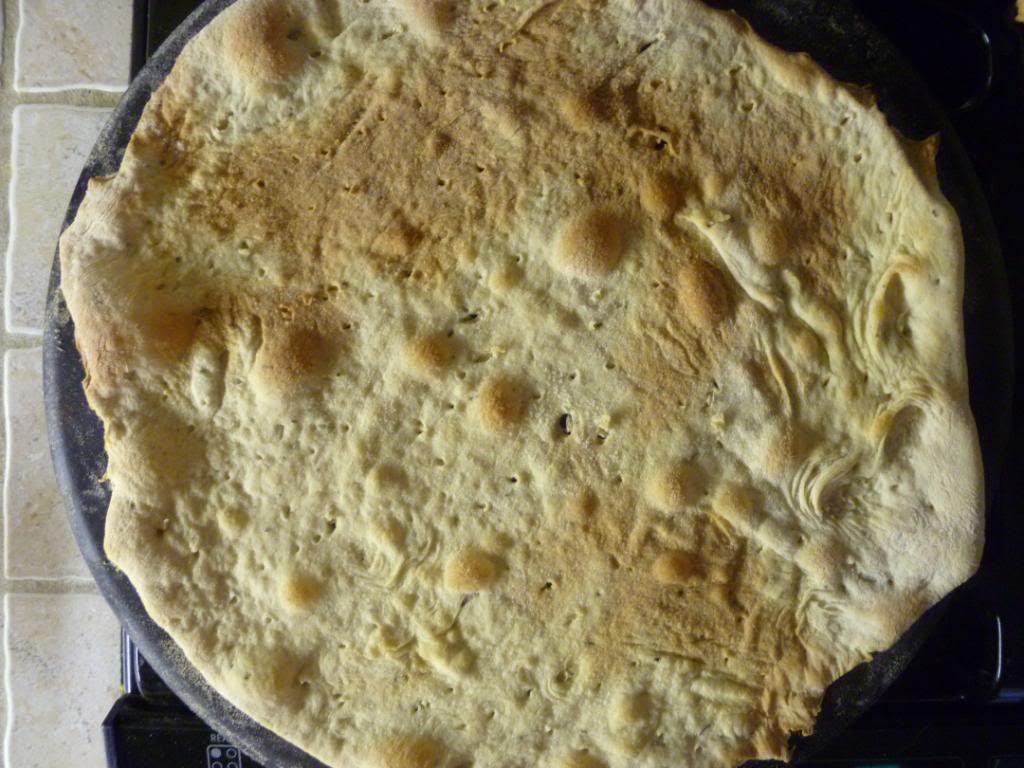
Bake for... a little while. Like ten minutes maybe? I dunno, check it. Put your oven light on. It can burn quickly. You just want it to be kinda brownish in spots.
BAM. DONE, BITCHES.
And there you have it. Cut/break it into wedges/squares/shapes and serve it with fine wines and cheeses, tapenades, Nutellastraightfromthejarwhat?, or leave it whole and make it into a pizza. You are a god/goddess.